How to build a green screen studio - 5 things you need
Building a green screen studio does not require more than a green fabric as a background and an app or application on your laptop. We go through what a green screen is and how it works to set up your own - either for your home or company office studio. You also get 5 tips on what to think of when live streaming with a virtual background.

Contents
What is a green screen?
A green screen is a background that can be replaced with a virtual produced background in studio productions or livestreams. The background is typically green or blue and must not match the color of the objects or people in front of it. The background can be made of fabric or painted on a wall, and is commonly used in film and studio settings.
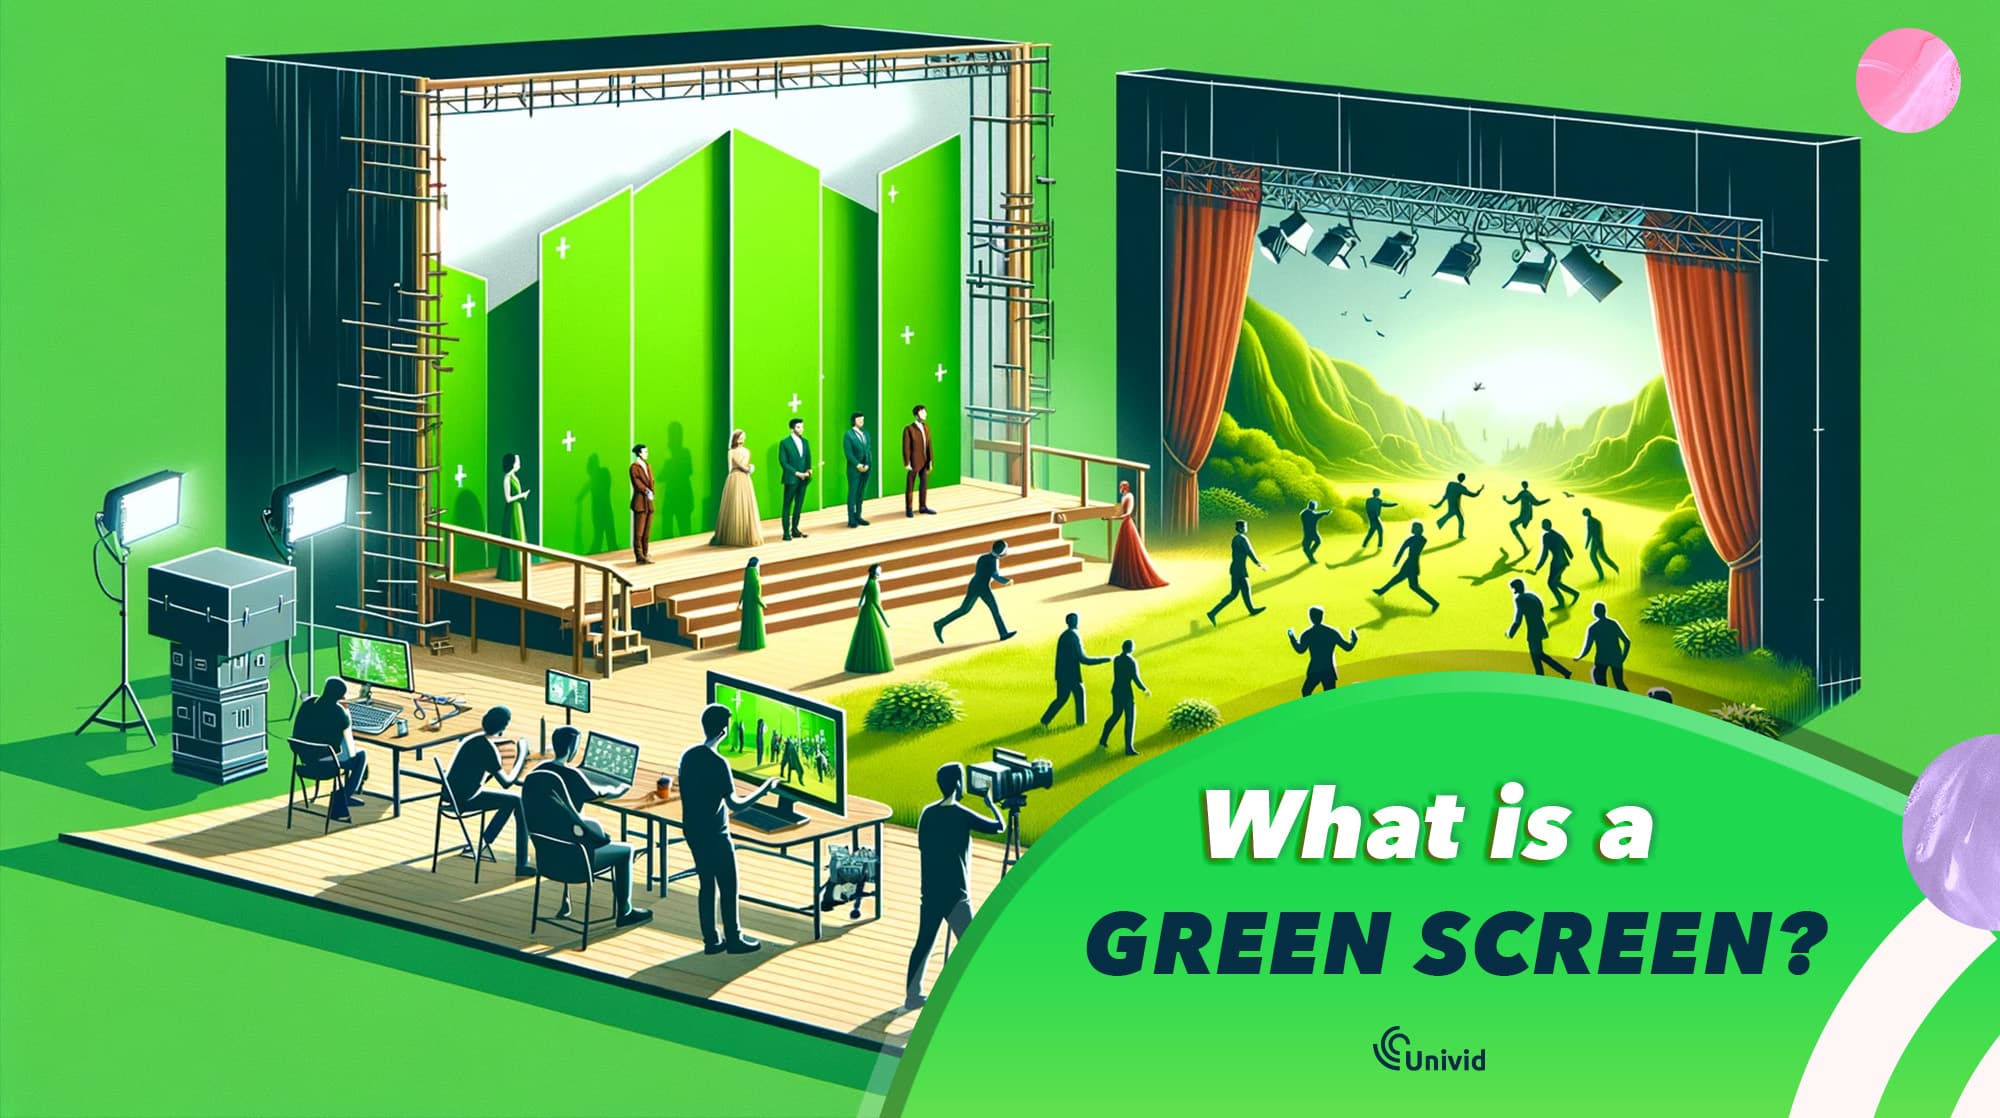
What equipment do you need for building a simple green screen studio?
Today, you can create a green screen setup yourself at home or at the office. Take your webinars to the next level or make sure your background can be customized to infinitely many environments, virtually.
The 5 things you need, in order to create your own green screen studio are:
A camera - either a webcam, smartphone or a real video camera
A green screen - the background itself that can be both portable and relatively inexpensive
Two lights - have a separate light source for the background and the object
A computer - where you will do the removal of the background
Editing software or webinar tool - e.g. OBS for live broadcasts, or Univid, where you can easily use so-called chroma keying to replace a certain color with a virtual image or environment.

Before and after adding the chroma key effect - eliminating the green background in Univid
5 tips to keep in mind when broadcasting live or recording with a green screen
Light up your background first, then the object 💡
Get a solid green screen 🟢
Wear clothes that contrast with green 💃
Separate the background from the object ➗
If you can set the aperture, use a low aperture number 🎥
1. Light up your background first, then the object 💡
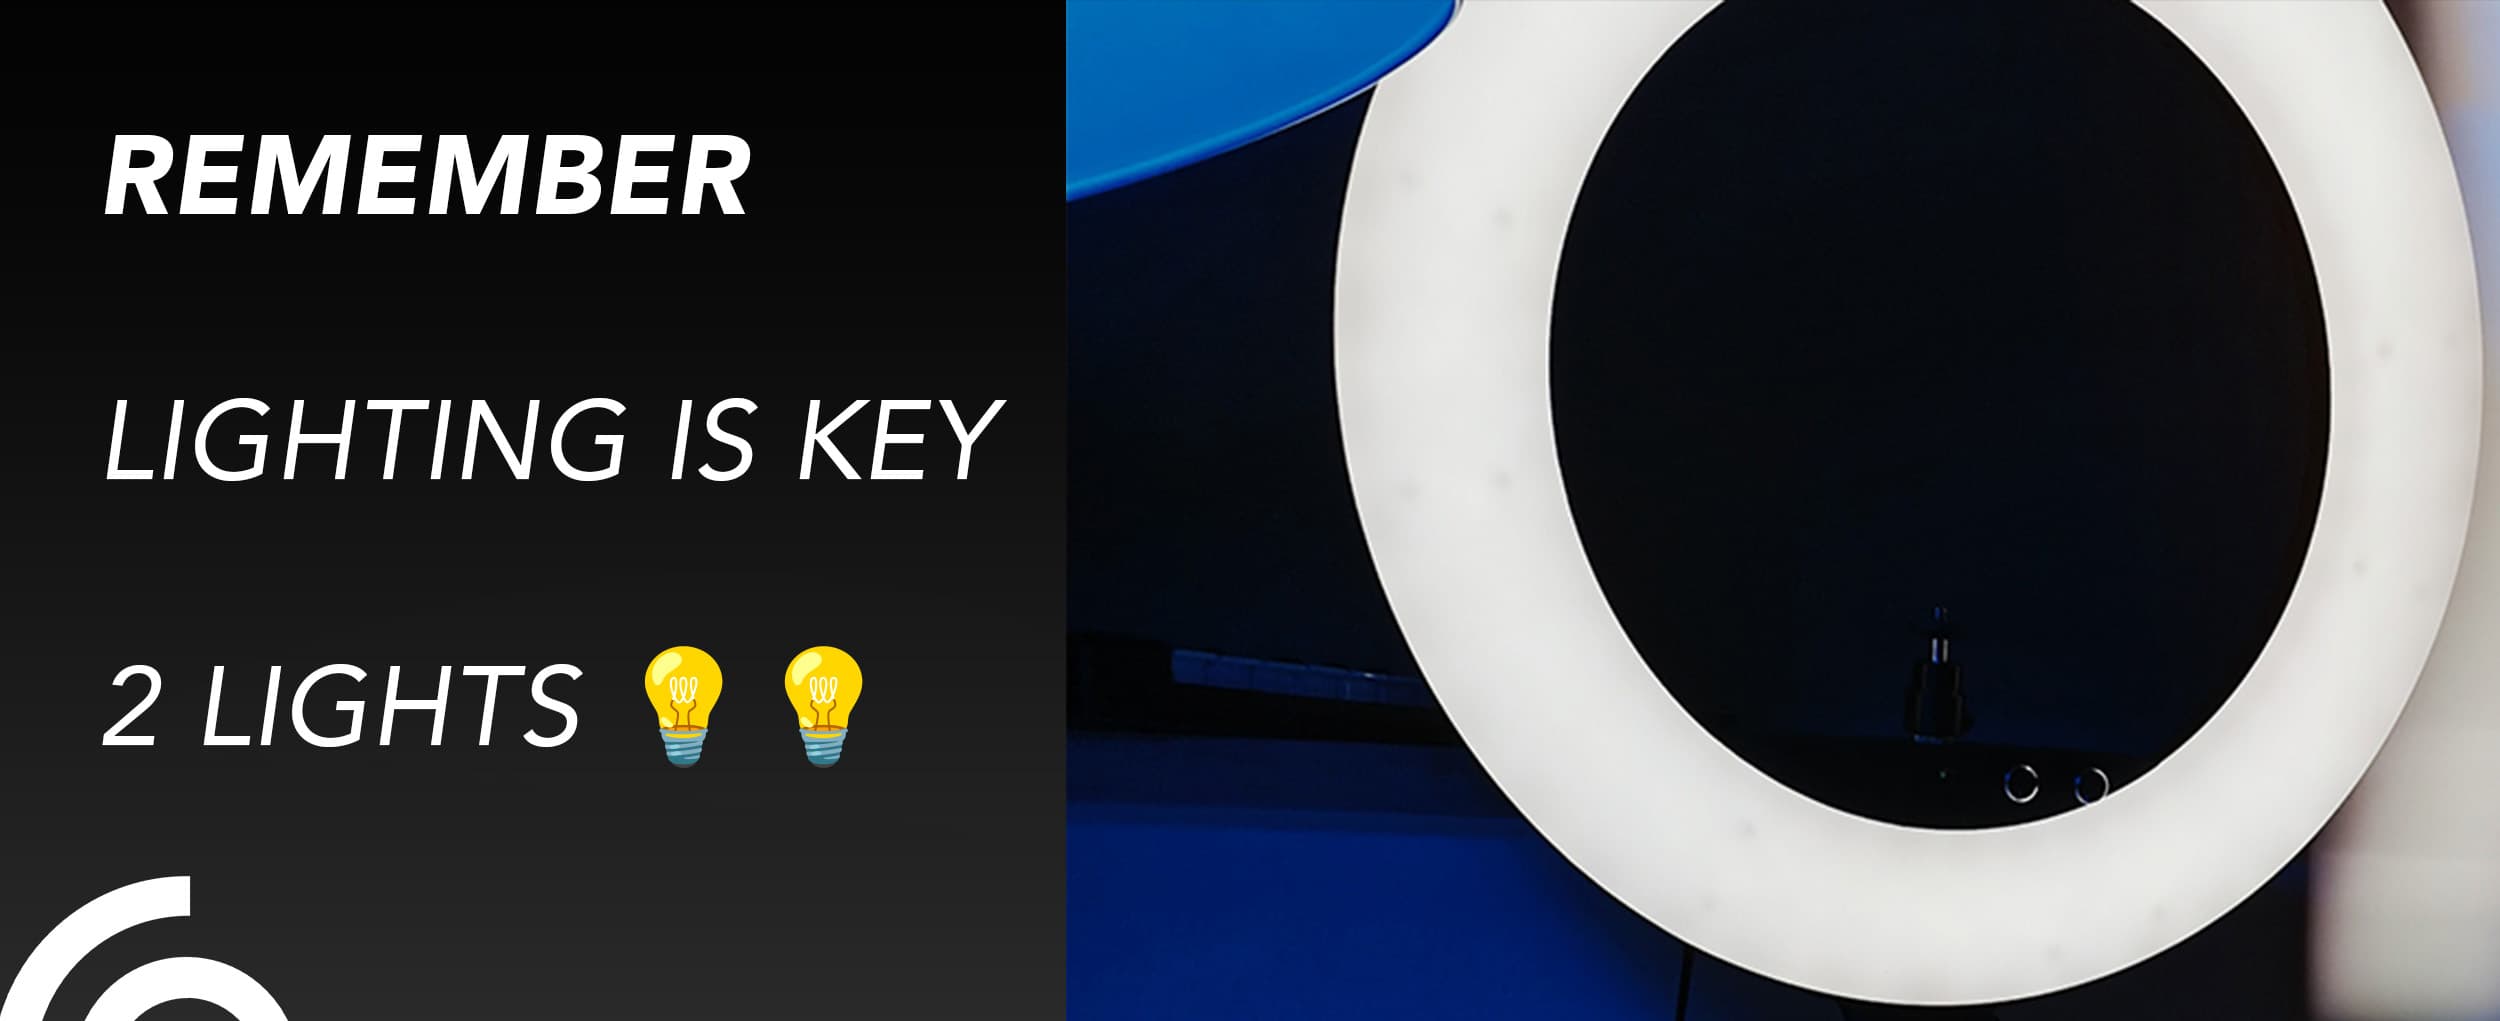
One of the biggest mistakes you can make when working with a green screen is to light up the background and object with the same lamp. By object we mean what is in the foreground. So the person or thing you want to appear in front of the virtual background, should be lit with a separate light source.
Be sure to work with two separate lights, and start by lighting the background with an even light that is not too bright.
2. Get a solid green screen 🟢
A too cheap green screen kit or similar, can make the job of removing the background in your app or meeting tool much more difficult, as they often do not contain several lights that can illuminate both the background and the object at the same time, and the color might not be ideal.
Also, make sure the size of the background is big enough for your shot. Often you need quite a large background to cover what is in the video, especially if you use a wide angle lens.
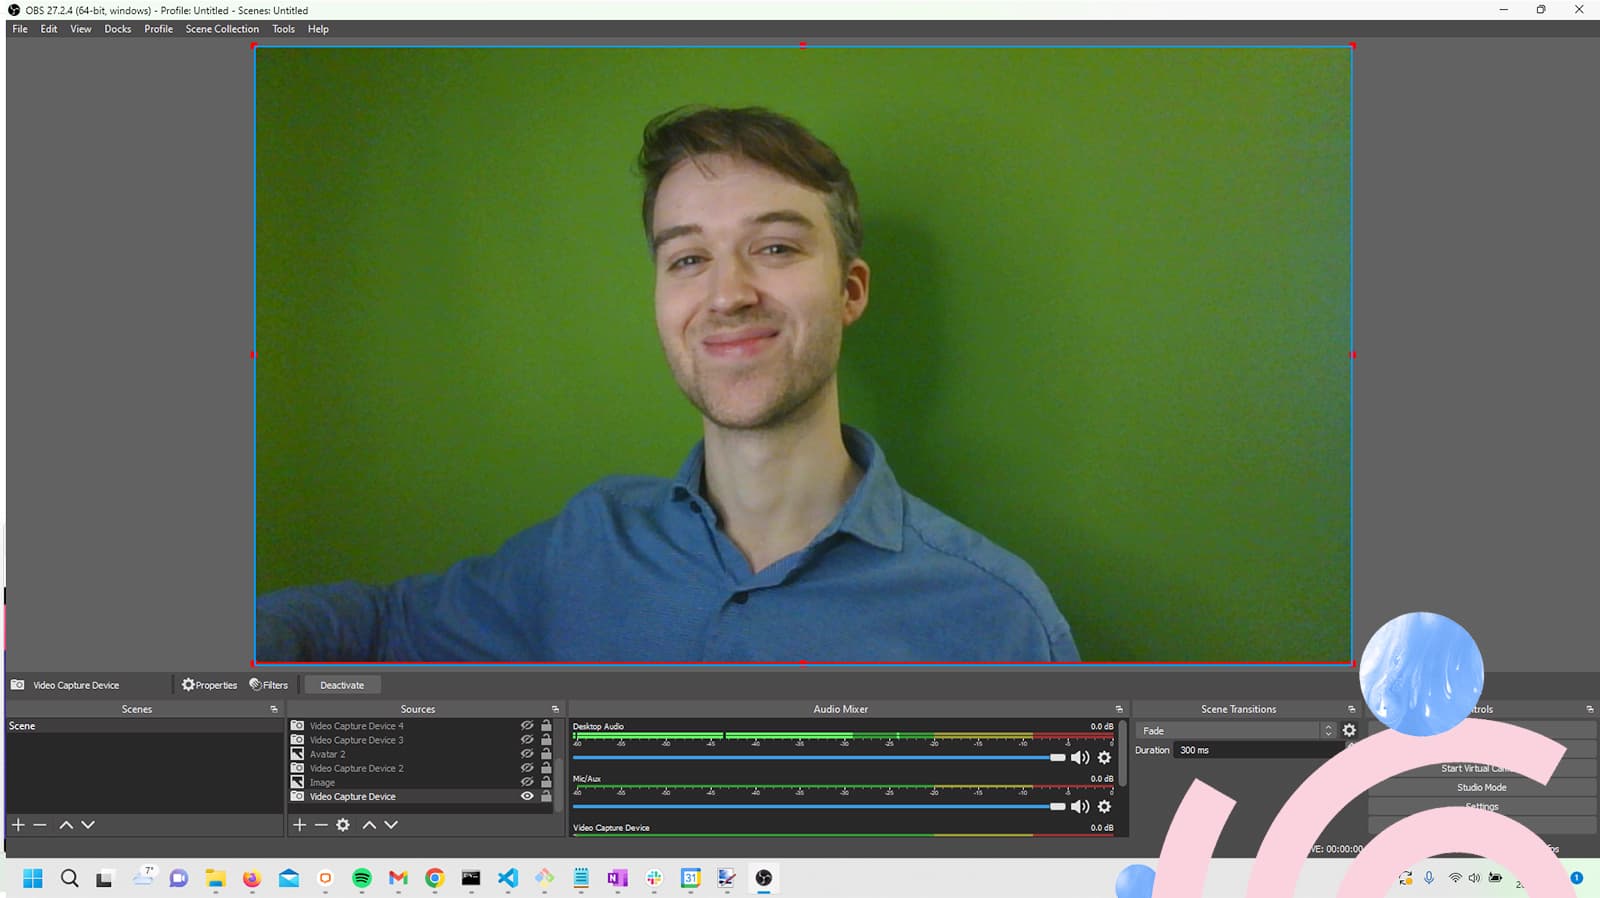
Make sure to get a quality green screen and think about the size
If you buy a ready-made kit, make sure that you have at least 2 lights and that the background can be completely smooth.
3. Wear clothes that contrast with green 💃
Do not wear green clothes, as you will blend into the background. The chroma key will make everything green disappear, so remember to have clothes, jewelry, etc. that do not reflect and preferably are a so-called complementary color to green - ie. red, orange or purple are optimal.
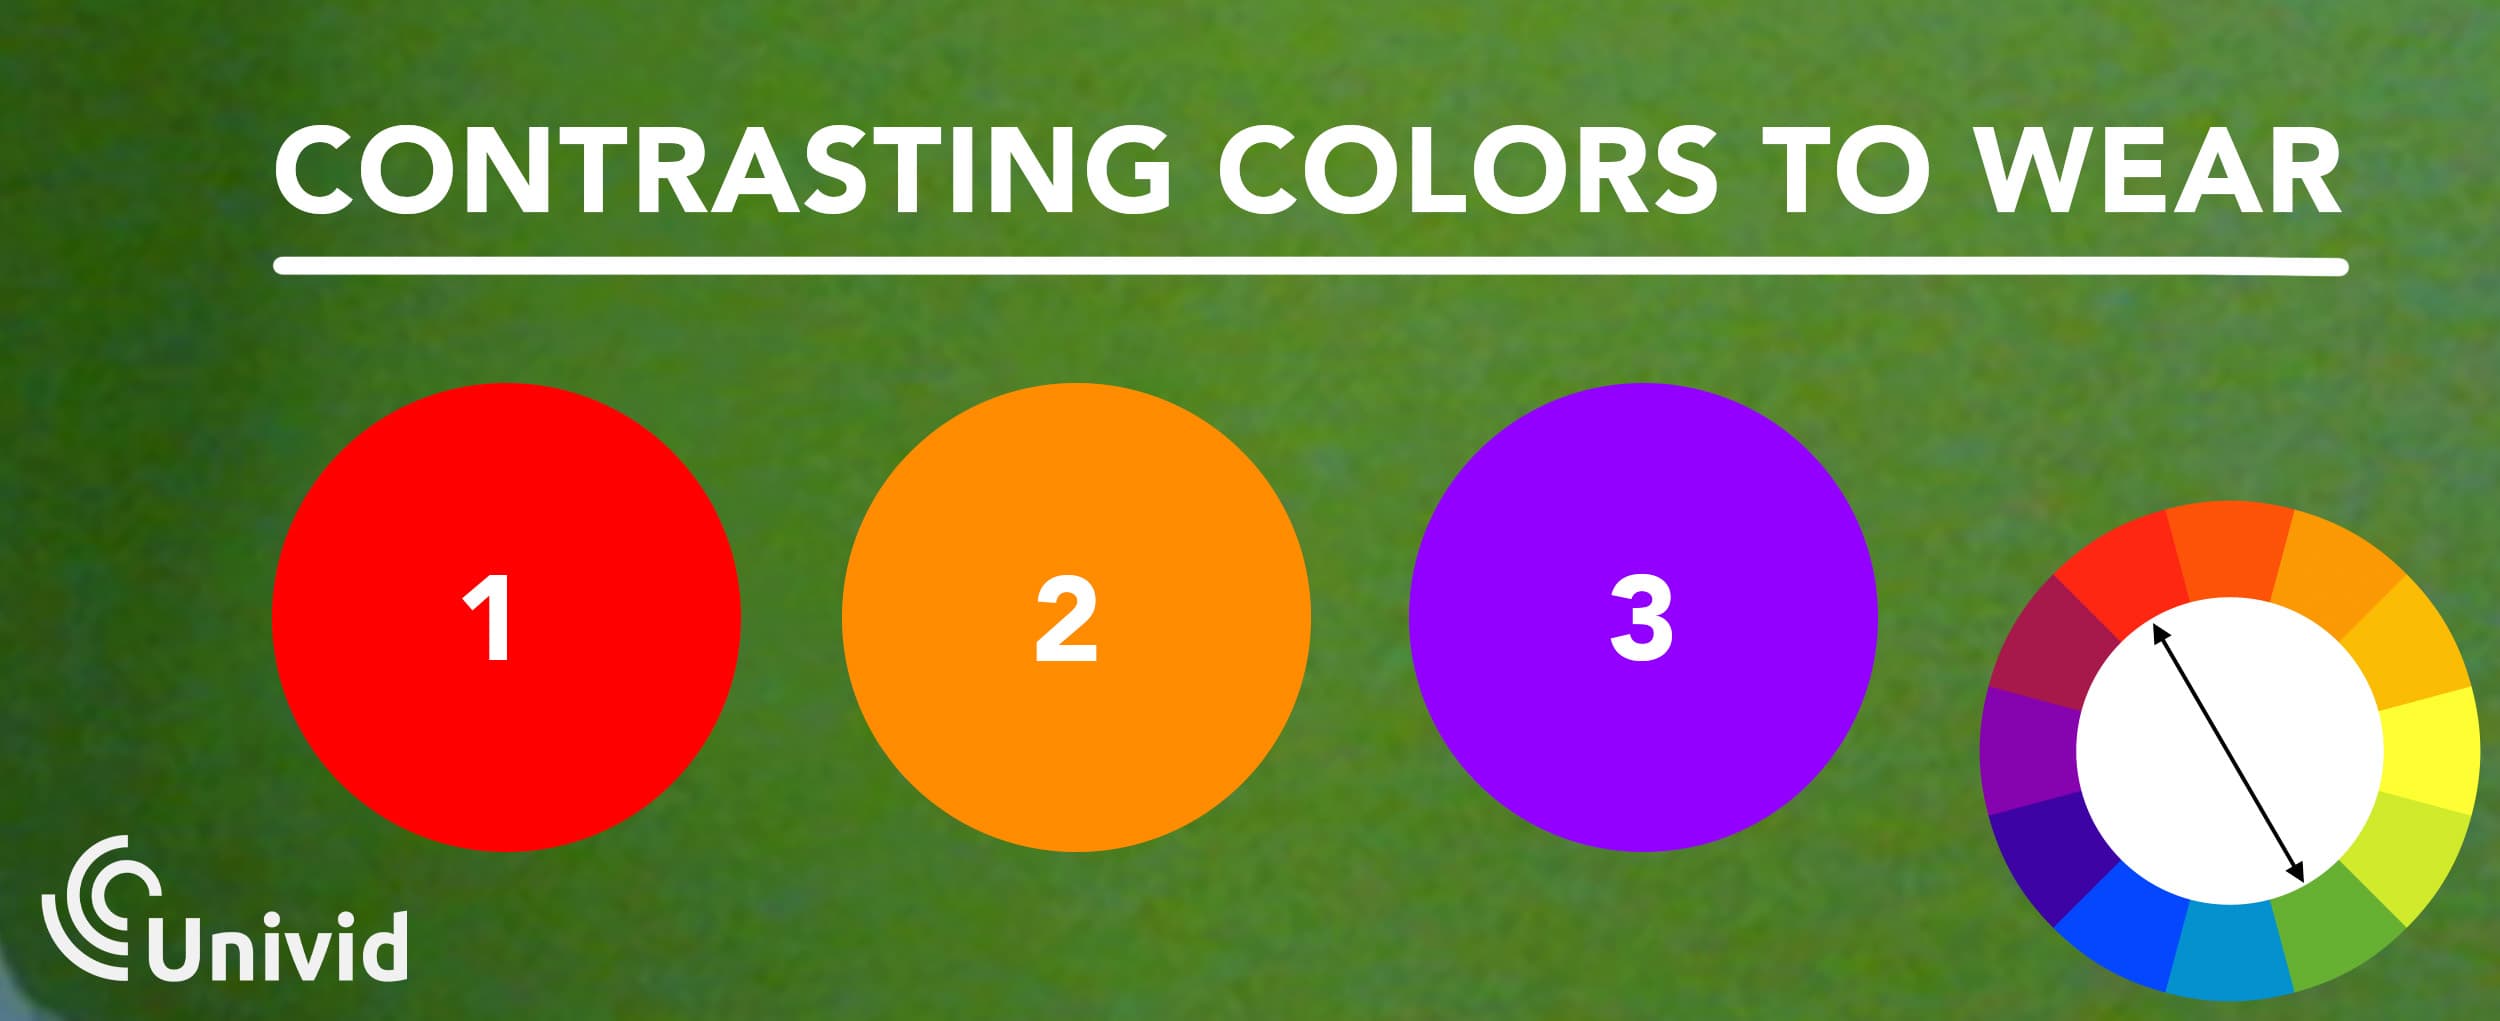
Contrasting colors to green - suitable to wear with a green screen background
4. Separate the background from the object ➗
By leaving the background some distance away from the object, you eliminate the risk of hard shadows from the object against the background. If the object is right in front of the green screen, it will be almost impossible to get an even and nicely lit background.
Have a few meters between the object and the background, and you can get a solid light, that focuses entirely on illuminating the background in between.
5. If you can set the aperture, use a low aperture number 🎥
For those who stream or film with a slightly larger system camera with the option to set the aperture - be sure to use a low aperture number (ie a large aperture), which causes the depth of field to be short and the object to pop from the background.
The background is also more uniform in color and softer, which makes it even easier to key out the object from the background in your software then.
Virtual backgrounds - an option if you don't have a green screen yet
Today, some meeting and webinar tools offer the option to add backgrounds virtually, without having a green screen background.
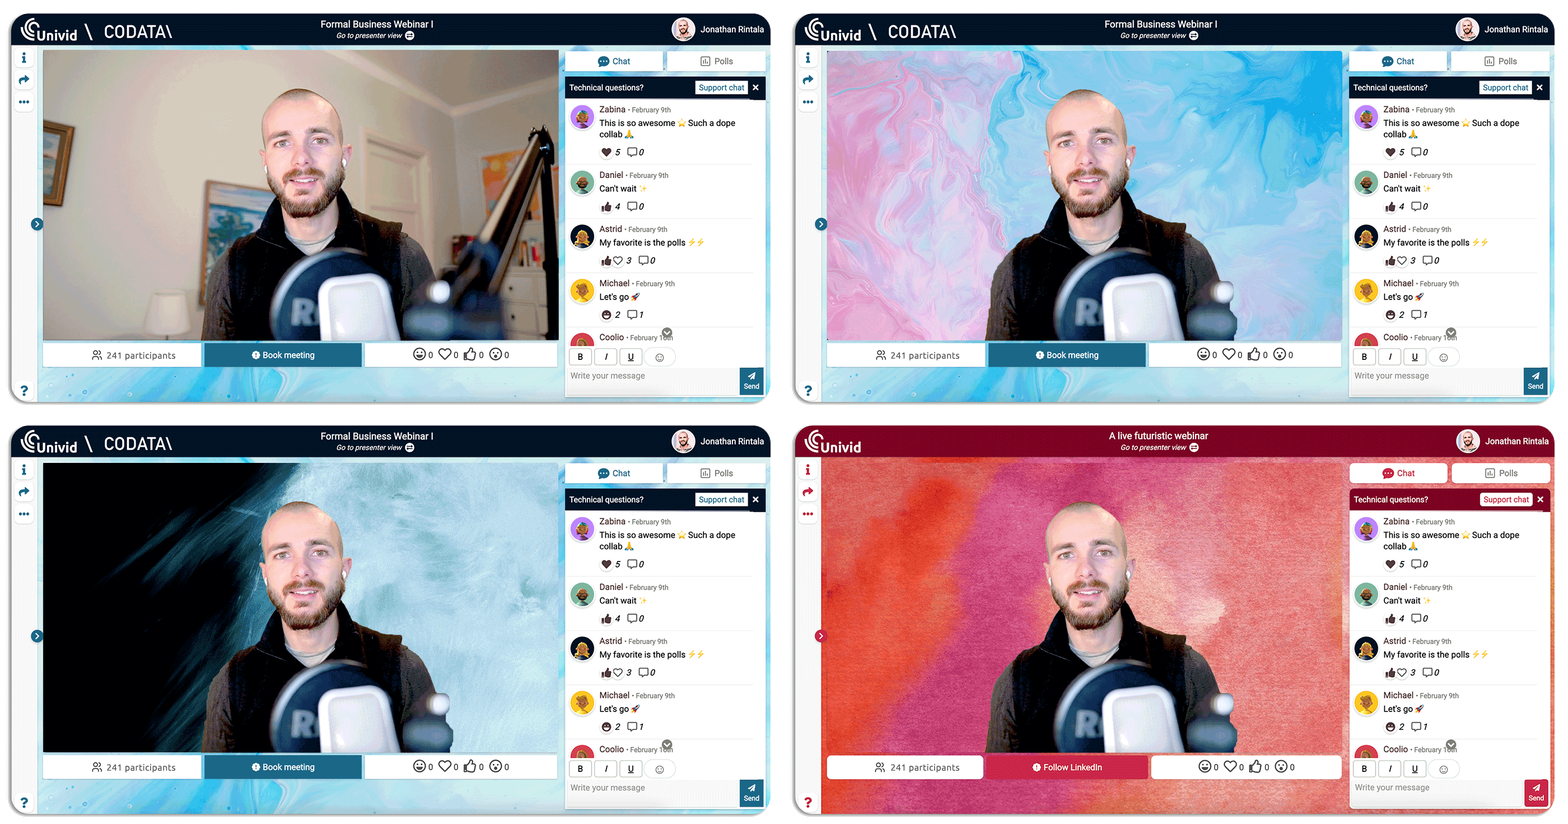
Virtual backgrounds in the Univid webinar platform - without the need for a green screen
This can be a good budget alternative, if you want to start out running more professional-looking live streams and webinars, without having to purchase all the equipment.
A big recommendation when using virtual backgrounds is to think about your background and light sources still. It makes a tremendous difference to have a fairly clean background and proper lighting that separates you from the background. So, invest in lights if you have to choose.
If you want to download free virtual backgrounds - here is our library of free background images to explore.
Still cannot get it right? Try using a professional studio for your webinars
These are some tips for those of you who are interested in building a corporate studio or even a home studio to get really professional live streaming, webinar, or recording.
Without doubt, it is relatively easy to get some outstanding results today on your own, and without a lot of expensive equipment. At the same time, if you have a major broadcast coming up, it can be nice to get help and stream your webinar via a professional studio.
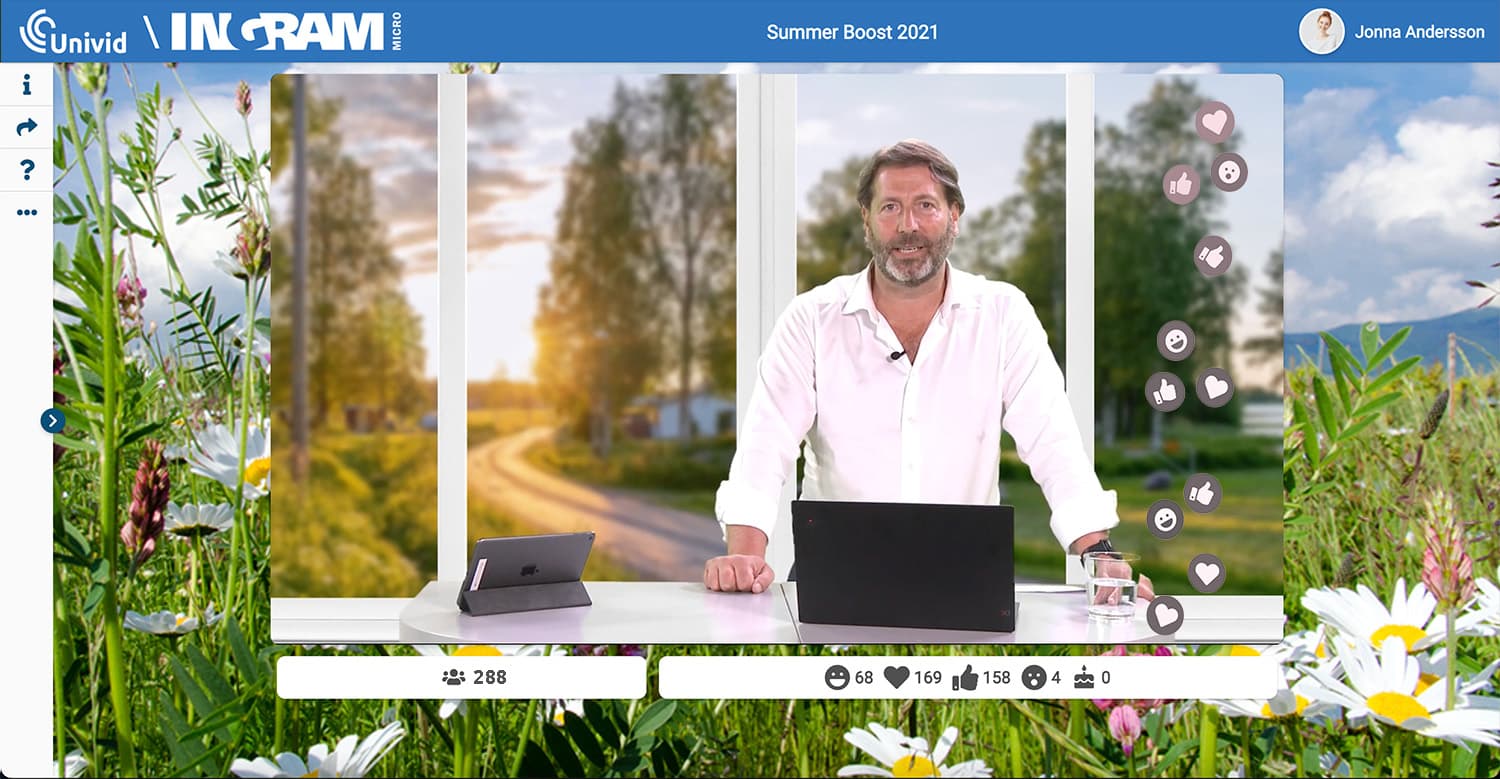
Professional livestream with green screen studio setting - on the Univid webinar platform
Working with a studio can be a good source of inspiration, so you get a feel for how they work, what equipment they use for their green screen studio and how they set up a broadcast. But remember, it will be quite a bit more expensive.
Use Univid with virtual backgrounds and green screen
Try the Univid webinar platform to broadcast your webinars live with the highest quality - either with a studio setup, or right from your webcam. It's completely free to try!
Univid supports using both green screen and virtual backgrounds, and you can quickly customize the session to make the entire webinar experience branded and look professional.
Frequently asked questions (FAQs)
Q: What does a green screen do?
A green screen is a special background that allows you to replace the background with a virtual one. It is useful when live streaming or recording video. The background should typically be lit separately for easy separation from the green color, using chroma key compositing technique.
Q: Is there free green screen software?
Yes, there are free green screen software options available such as Open Broadcast Software (OBS), or webinar platforms like Univid which supports virtual backgrounds. These softwares make it easy to key out the green screen and add desired backgrounds. Some more advanced features may require additional paid versions.
Q: Can anyone use a green screen?
Yes, anyone with some basic technical skills can use a green screen. It is a widely used tool in video production that allows for replacing the background in post production. To get high quality output, you need the right equipment and knowledge of how to set it up.
Q: How do you live stream a green screen?
To live stream with a green screen, you need two lights, a green screen background, camera, computer with editing software to key out the green screen and a platform for streaming. Replace the green background with a virtual background in your streaming or video editing software. Then, go live on a streaming platform such as YouTube Live, Twitch or Univid.
Q: Do you need a special camera for green screen?
No, you do not need a special camera when using a green screen. So your typical webcam and smartphone works, or a dedicated video camera or DSLR. The only requirement is that you need to be able to connect it to your computer where you have the editing or webinar software.
