Essential Tips to Build Your Webinar Studio on Any Budget
Learn about the basic equipment needed to make your in-house webinar studio shine. 6 easy tips to build a professional studio setup for video production, webinars, and livestreaming.

Contents
In this fast-paced guide, we'll break down the essential equipment you need to make your webinars shine. From dedicated cameras to extra computer screens for the support notes and all the tech wizardry in between, we've got you covered with 6 quick and easy aspects to transform any streaming setup into an engaging experience that captivates your audience and elevates your content. Trust us, we've been there, and the difference is mind-blowing. A lot of the concepts can even be done in a home office. Let's dive straight in.
What is a webinar studio?
A webinar studio is a space equipped with essential tools such as a computer, high-resolution webcam, quality microphone, and adequate lighting to host professional, high-quality webinars. It ensures smooth, successful digital communication and broadcasts.
This space could be located at your office in a specially equipped meeting room, or as a dedicated studio space if you want to bring it up a notch.
What is a virtual webinar studio?
The virtual webinar studio is typically the part of a webinar platform that is designed to facilitate the production of webinars, without the need for a lot of physical tech. However, webinar studios can also be a physical, where the producer can decide to produce the webinar locally in a software like OBS, or Vmix, or in the virtual studio.
A virtual webinar studio typically includes the following functionality:
Capabilities to record audio and video
Video production and editing tools
Tools for screen sharing and presentations
Live chat and Q&A sessions
Options to brand and personalize
Apply green screens and swap virtual backgrounds
Live streaming and webcasting features
These features help contribute to a more seamless and engaging webinar experience for both presenters and attendees.
What do you use a webinar studio for?
A webinar studio is primarily used for hosting and producing webinars. Often with the goal to professionally conduct lectures, training sessions, workshops, build thought leadership, and run product demonstrations.
A webinar studio, with its specialized equipment and software, facilitates the creation of high-quality, interactive, video content that can be live-streamed in real-time or pre-recorded.
The main goal of the webinar studio is that it should be easy to use - otherwise it won't get used. Also, other good factors are that you should be able to produce high quality video and a variety of formats.
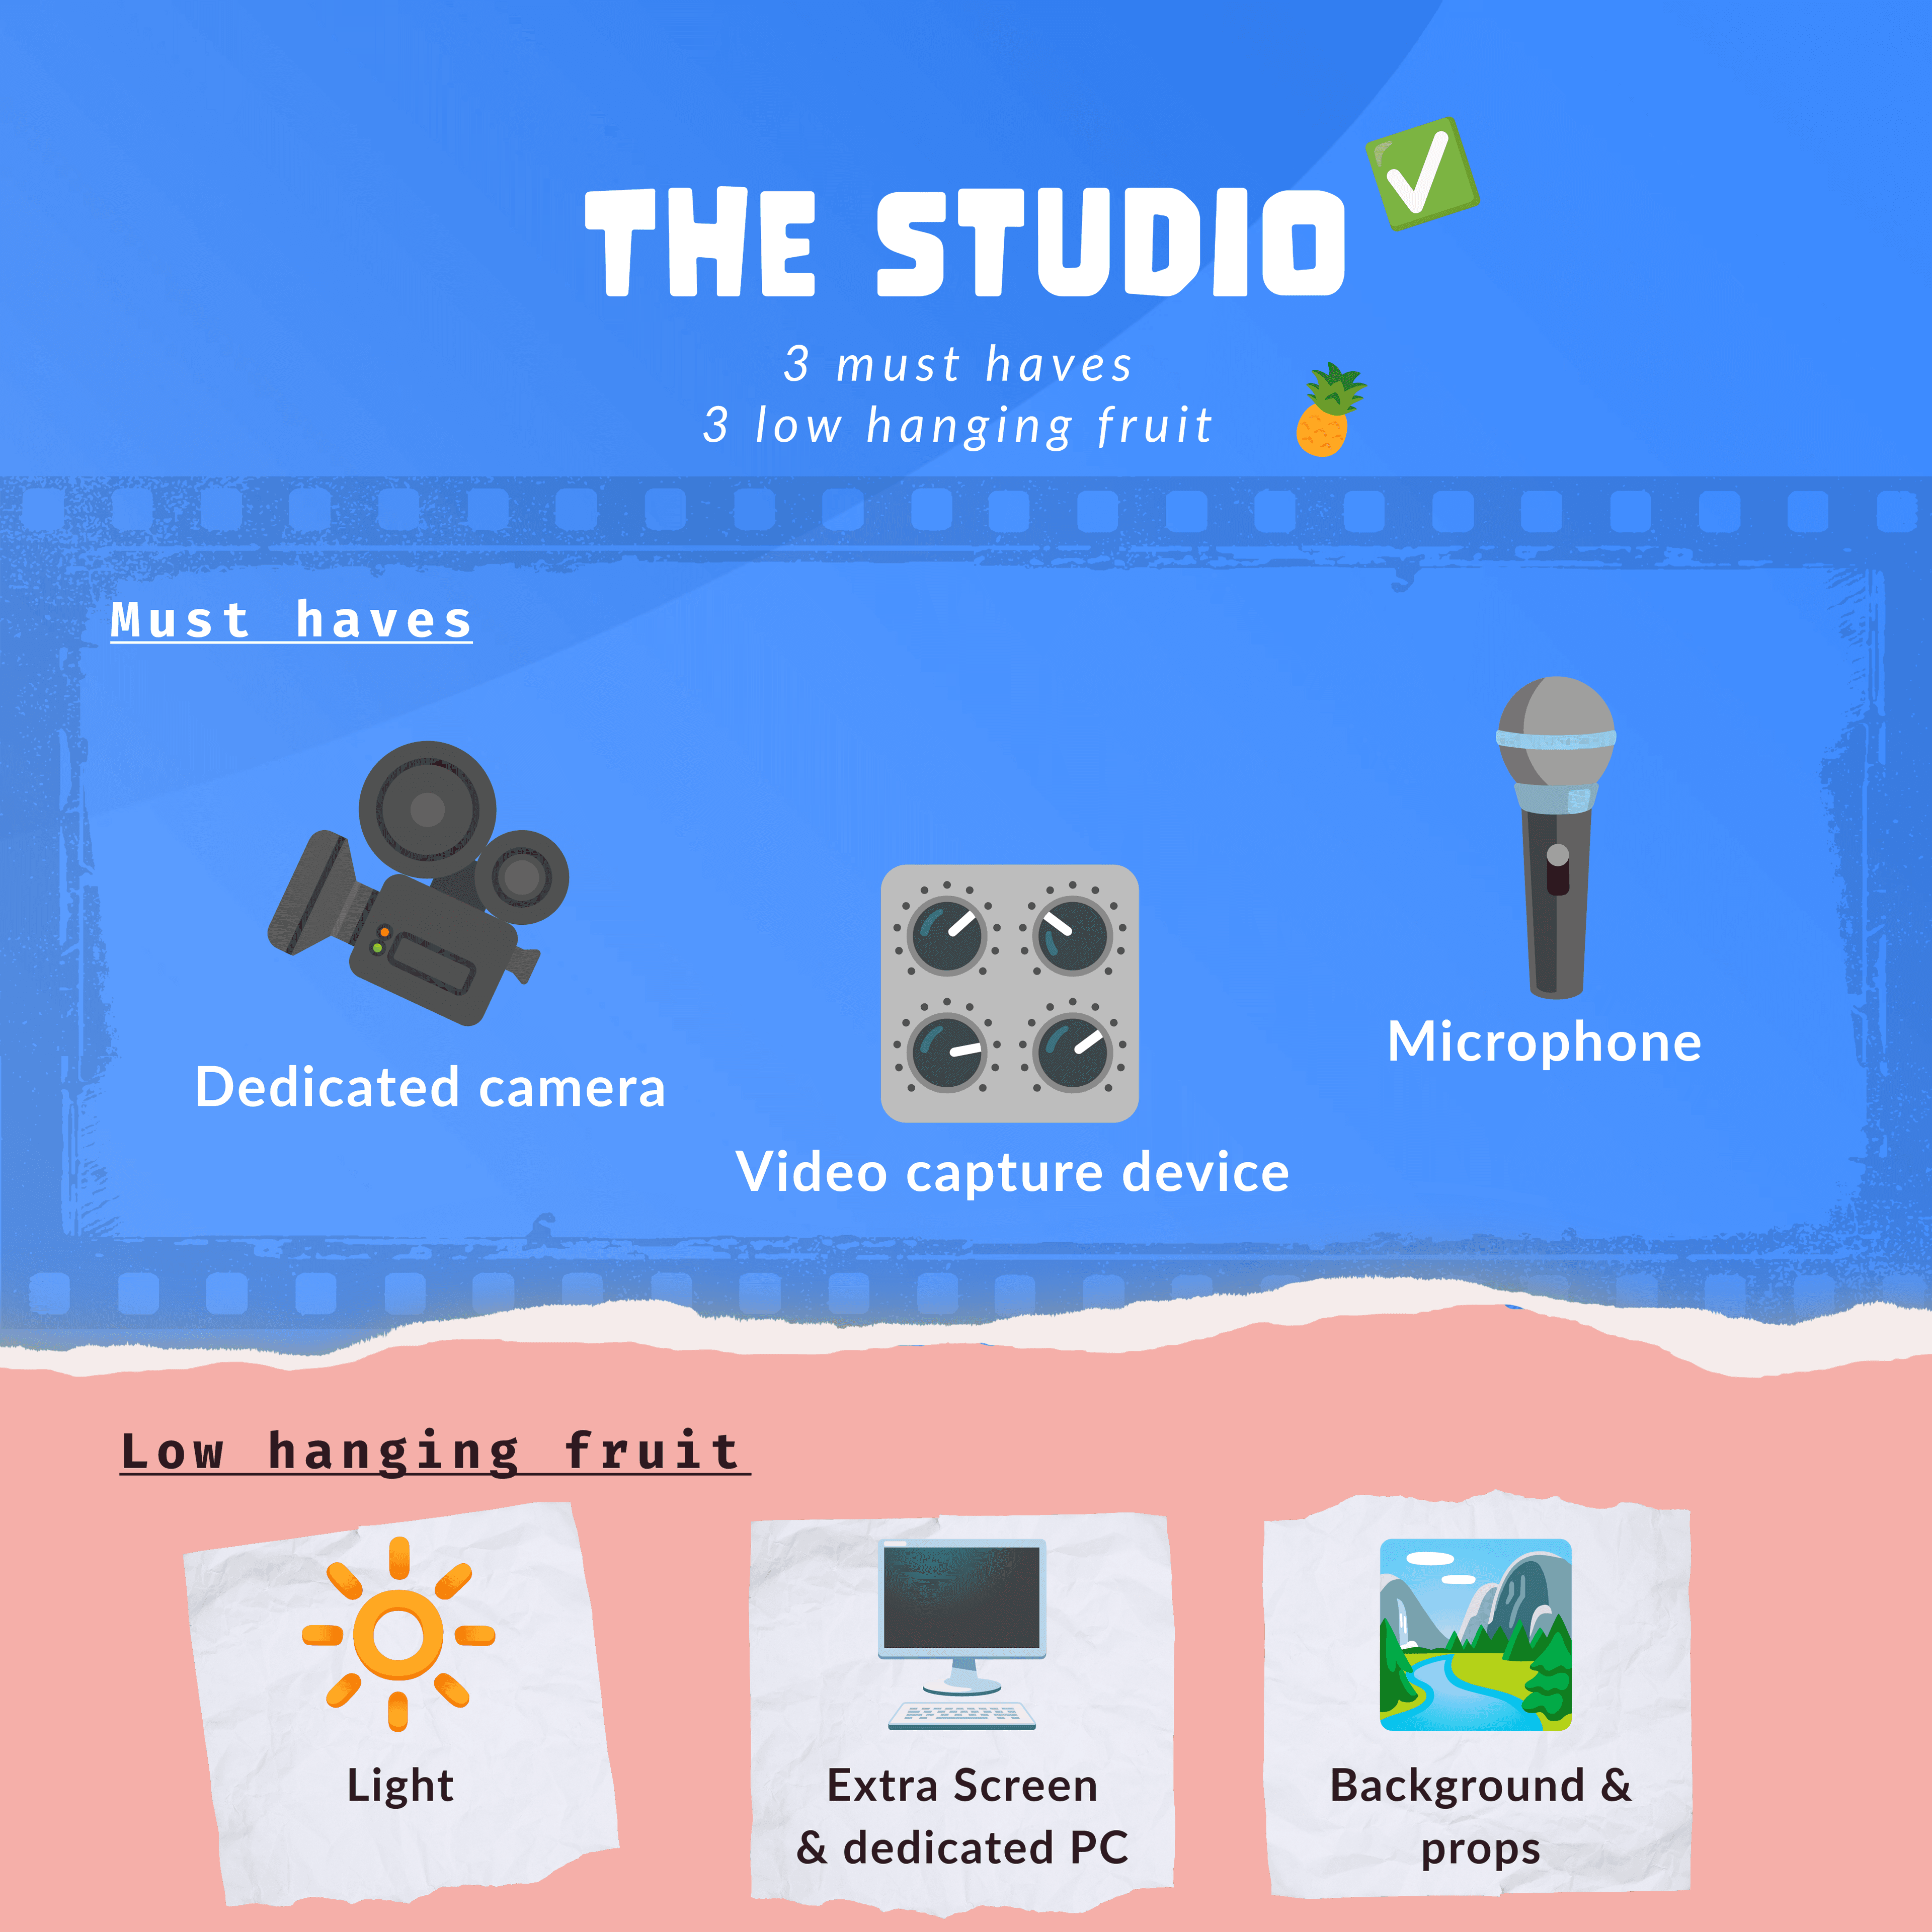
The 6 things you need to build a webinar studio
The following things are needed to upgrade or build a quality webinar studio.
📸 1. Dedicated Camera
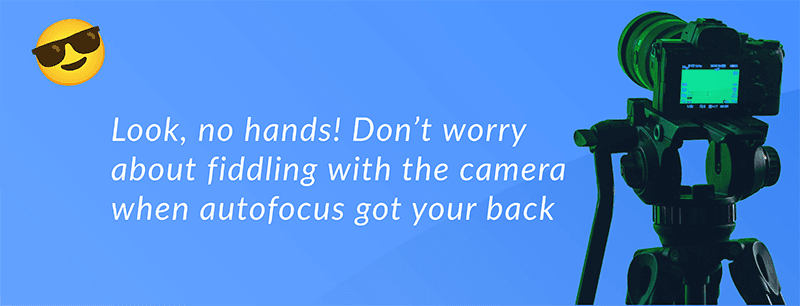
Potatoes are for fries not for filming. Get a proper camera for your webinar. But don’t fall for the mental block that often occurs when filming commercials: the better the camera, the better the commercial. Autofocus is important unless you have a dedicated person micromanaging the camera all the time.
You need a video camera that supports being integrated with a video capture device, look for “HDMI out” or WiFi streaming in technical specifications. There are cameras out there that can only record to memory cards, yes that’s right they cannot even record onto a potato – dodge those for webinars and online streaming.
🎥 2. Video Capture Device
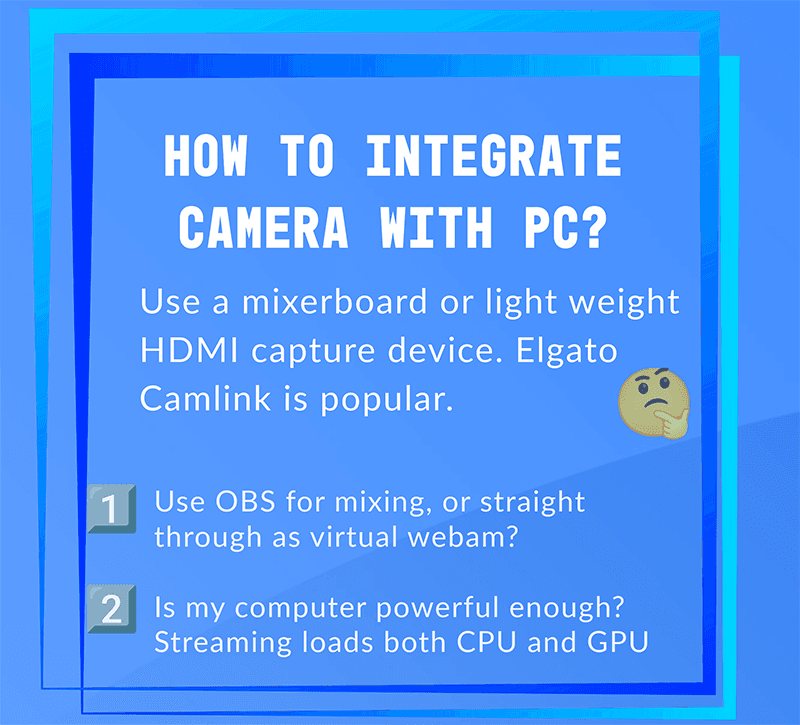
This gizmo grabs your camera's footage and sends it to your PC. It's like a bouncer for your club... only this one won’t turn people away! A video capture device (also known as a converter or video capture card) converts video signals into digital data. Making a computer able to serve the camera as a webcam on the PC. Some cameras serve this out of the box making a video capture device unnecessary, however, DSLR/mirrorless cameras must be connected with a converter.
Capture the moment, not the lag – opt for a video capture device that keeps your stream smooth as butter.
It is obvious that the video capture device must be able to connect to your camera and be compatible with the computer. What can be more of an “aha moment” is whether or not you should opt for a converter that can off-load the computer, some converters even include mixer software to make the production easier. The last thing you want to stream from expensive equipment is a laggy video due to an overburdened computer. Also, choose a device with suitable image quality. For example, 1080p with 30 FPS may work for most use cases. But if you want better recording quality and have powerful internet (sufficient bandwidth) you could opt for 4K, remember that the camera also must support 4K.
🎤 3. Microphone
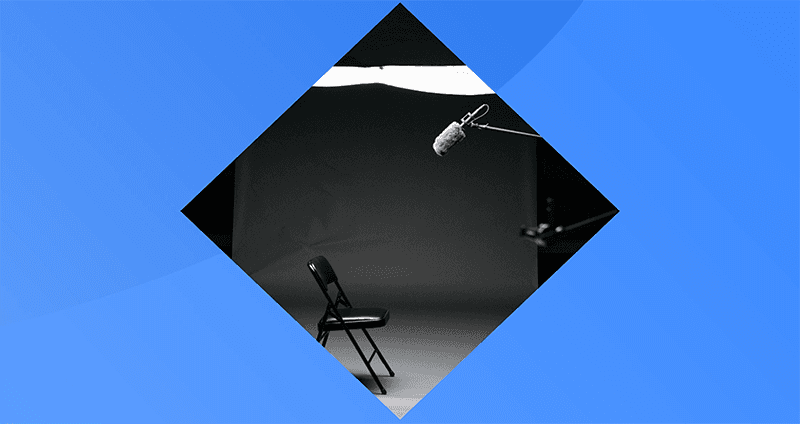
With the right mic, even your "umms" and "ahhs" will sound delightful! Consider if a microphone could be mounted above presenters or if lavalier microphones (that pinnable mic, small as a mosquito attached to your clothing) are viable. Do you believe that hosts would want to move around during the session? Then choose a microphone suitable for spatial movement. Or perhaps a must-have is a great capability to dampen noise from loudspeakers and surroundings inside of your studio, it is not fun to accidentally ruin the stream and video recording with traffic or drill noise.
A small tip if you are streaming from an environment that isn't overly noisy: A condenser microphone, the Yeti Blue Snowball or Rode NT1 are two solid alternatives. Fill in the equipment proposal for more specific suggestions.
💡 4. Light
Want to make everything right? Nail the light?
This is the real make or break when it comes to streaming video over the internet. And you can get far even with a simple camera. Why? You might ask. One explanation is compression, of course, you can dodge the internet compression and mail your participant a blue-ray recording of the webinar. However, that no longer makes it a webinar. This is where light comes to your aid! Remember that this will not solve all your problems, but it will make it look almost as good as if you were watching it on a local non-compressed recording.
Soft light is the best light for webinars and studio recording
With soft lights, you will achieve gentle and even illumination that is kind to your subjects. Soft lights are great for avoiding hard shadows and provide subjects with a flattering light. Use for example: LED panels with built-in diffusion, ring lights or softboxes. You can also be creative and smooth out direct or powerful lights by directing them away from the focus area, making them bounce off walls or ceilings. This works since the light is spread evenly, preventing harsh shadows – it creates that flattering appearance for your subjects. Remember that even if your subjects are moving around, this approach can cope with this challenge. It is all about the right placement and amount of light.
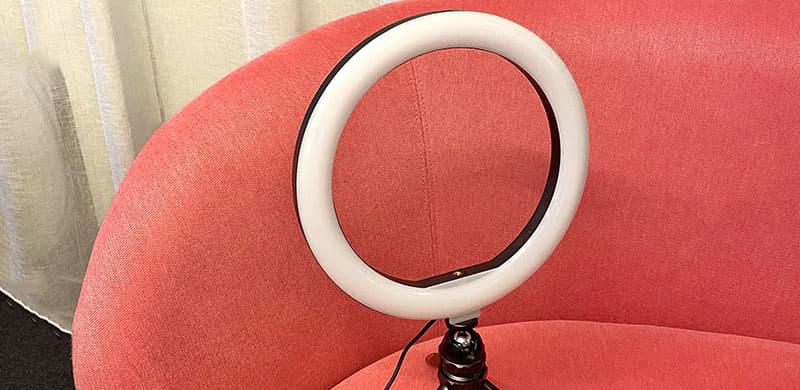
Mitigate reflections, glare and natural light sources 😎
When using artificial light sources make sure to adapt the light to not cause surfaces to glare. Or cover them up! You might also want to cover any light coming into the room since natural light sources could impact the great setup.
Three-point lighting
Yes, this is the real deal… It involves three primary light sources: Key light, fill light and backlight. This is explained so many times by experienced videographers, check out this video by Think Media below if you want to learn more about this technique.👇
And some tips
A common hiccup is nailing the light correctly on the speakers, but then underestimating how devastating dark backgrounds are for streaming online and having a video recording with a small file size. The choice of light depends on the distance and set up you aim for. I usually combine a key light with a ring light, for example Elgato Key light and Elgato Ring light. An affordable option is Streamplify LIGHT 10 Ring Light, this works really well when the presenters are close to the web camera and stronger light isn't necessary.
🖥️ 5. Extra Screen & Dedicated PC
Hosting a webinar with just one screen is like trying to juggle flaming torches while riding a unicycle – it's a spectacular disaster waiting to happen! 🤹🔥😱 But fear not, there is a nifty solution: the extra computer screen, and while you are at it – is it easier if there is a stationed PC everyone will be using? It can sometimes be heavy for the computer to cope with video production as was described when talking about video capture devices.
Picture this: On one screen, you've got your dazzling presentation slides and the stars of the show. On the other screen, you've got your trusty sidekicks – your notes and the webinar chat, ready to assist. No more awkward alt-tabbing or losing your place in the chaos. It's like having a backstage crew keeping everything in tip-top shape while you dazzle the audience. In the age of instant distractions, that extra screen is your superhero cape, helping you stay organized and on point. It's not just a convenience; it's a sanity-saver, ensuring your audience gets the juiciest bits of your wisdom without missing a beat. You do not want to juggle tabs, notes or slides during webinars with one screen.
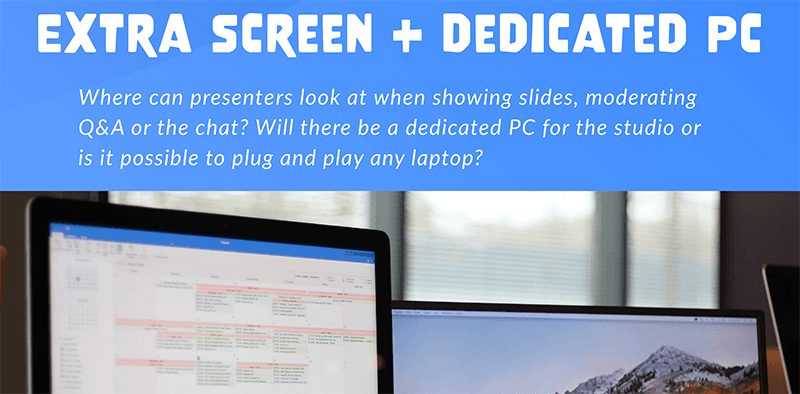
So, if you've ever felt like it is impossible to manoeuvre slides while presenting, it's time to level up with the ultimate weapon – the extra PC screen. It can be the missing piece that takes a webinar from chaos to confidence!
The juggling act is over; now with an extra screen, you're the captivating ringmaster of webinars 🎪🥇
🎨 6. Background & Props
Would you appreciate being invited for a demo in a storage room? Would that make you feel the things that will be talked about are important? If you ever tried you most likely would hear that the answer is no. So clearly, background & props are not just about making things pretty (though that’s a nice bonus). It aids in catching interest and keeping the audience engaged. Also, it can aid with the message of the webinar coming through by adding depth and context to the content. Remember to keep the brand experience consistent while introducing some details per webinar.
Consistent baseline
It is beneficial to partially keep the same baseline of background and props – to align branding across your webinars and add that feeling of familiarity. Make sure such a setup is not distracting. It should provide a focus on the host's message and the props used.
Introduce a new touch per webinar
Cherry-pick some interchangeable, small details or props to strengthen the focus of your webinar content. Think about it. Do you prefer webinars that make you wonder if you've accidentally hit 'rewind,' or those that surprise you with something new at every turn? Remember that the purpose of the props is to engage the audience or strengthen an illustration, not to distract the audience.
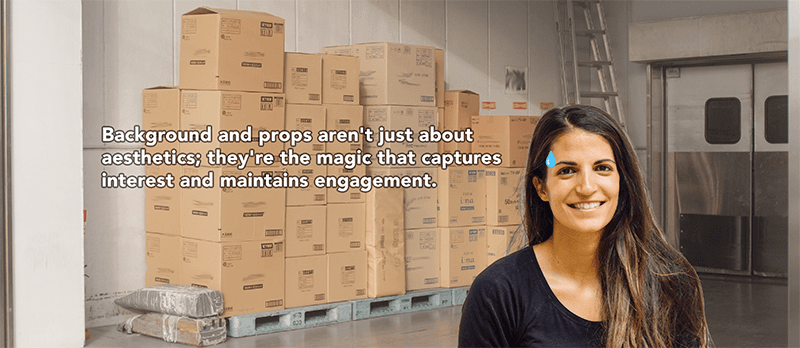
Don't host your webinars in a storage room – your audience deserves better! Background and props aren't just about aesthetics; they're the magic that captures interest and maintains engagement.
Make webinars your own
What about the digital interface? In certain streaming services, the digital interface is possible to align with the invested background & props. This way you can take any poor participant watching in from a storage room onto your professional setting. Even before you are live! Don't give a potato experience, give an engaging experience 🥔 🔜 🤩
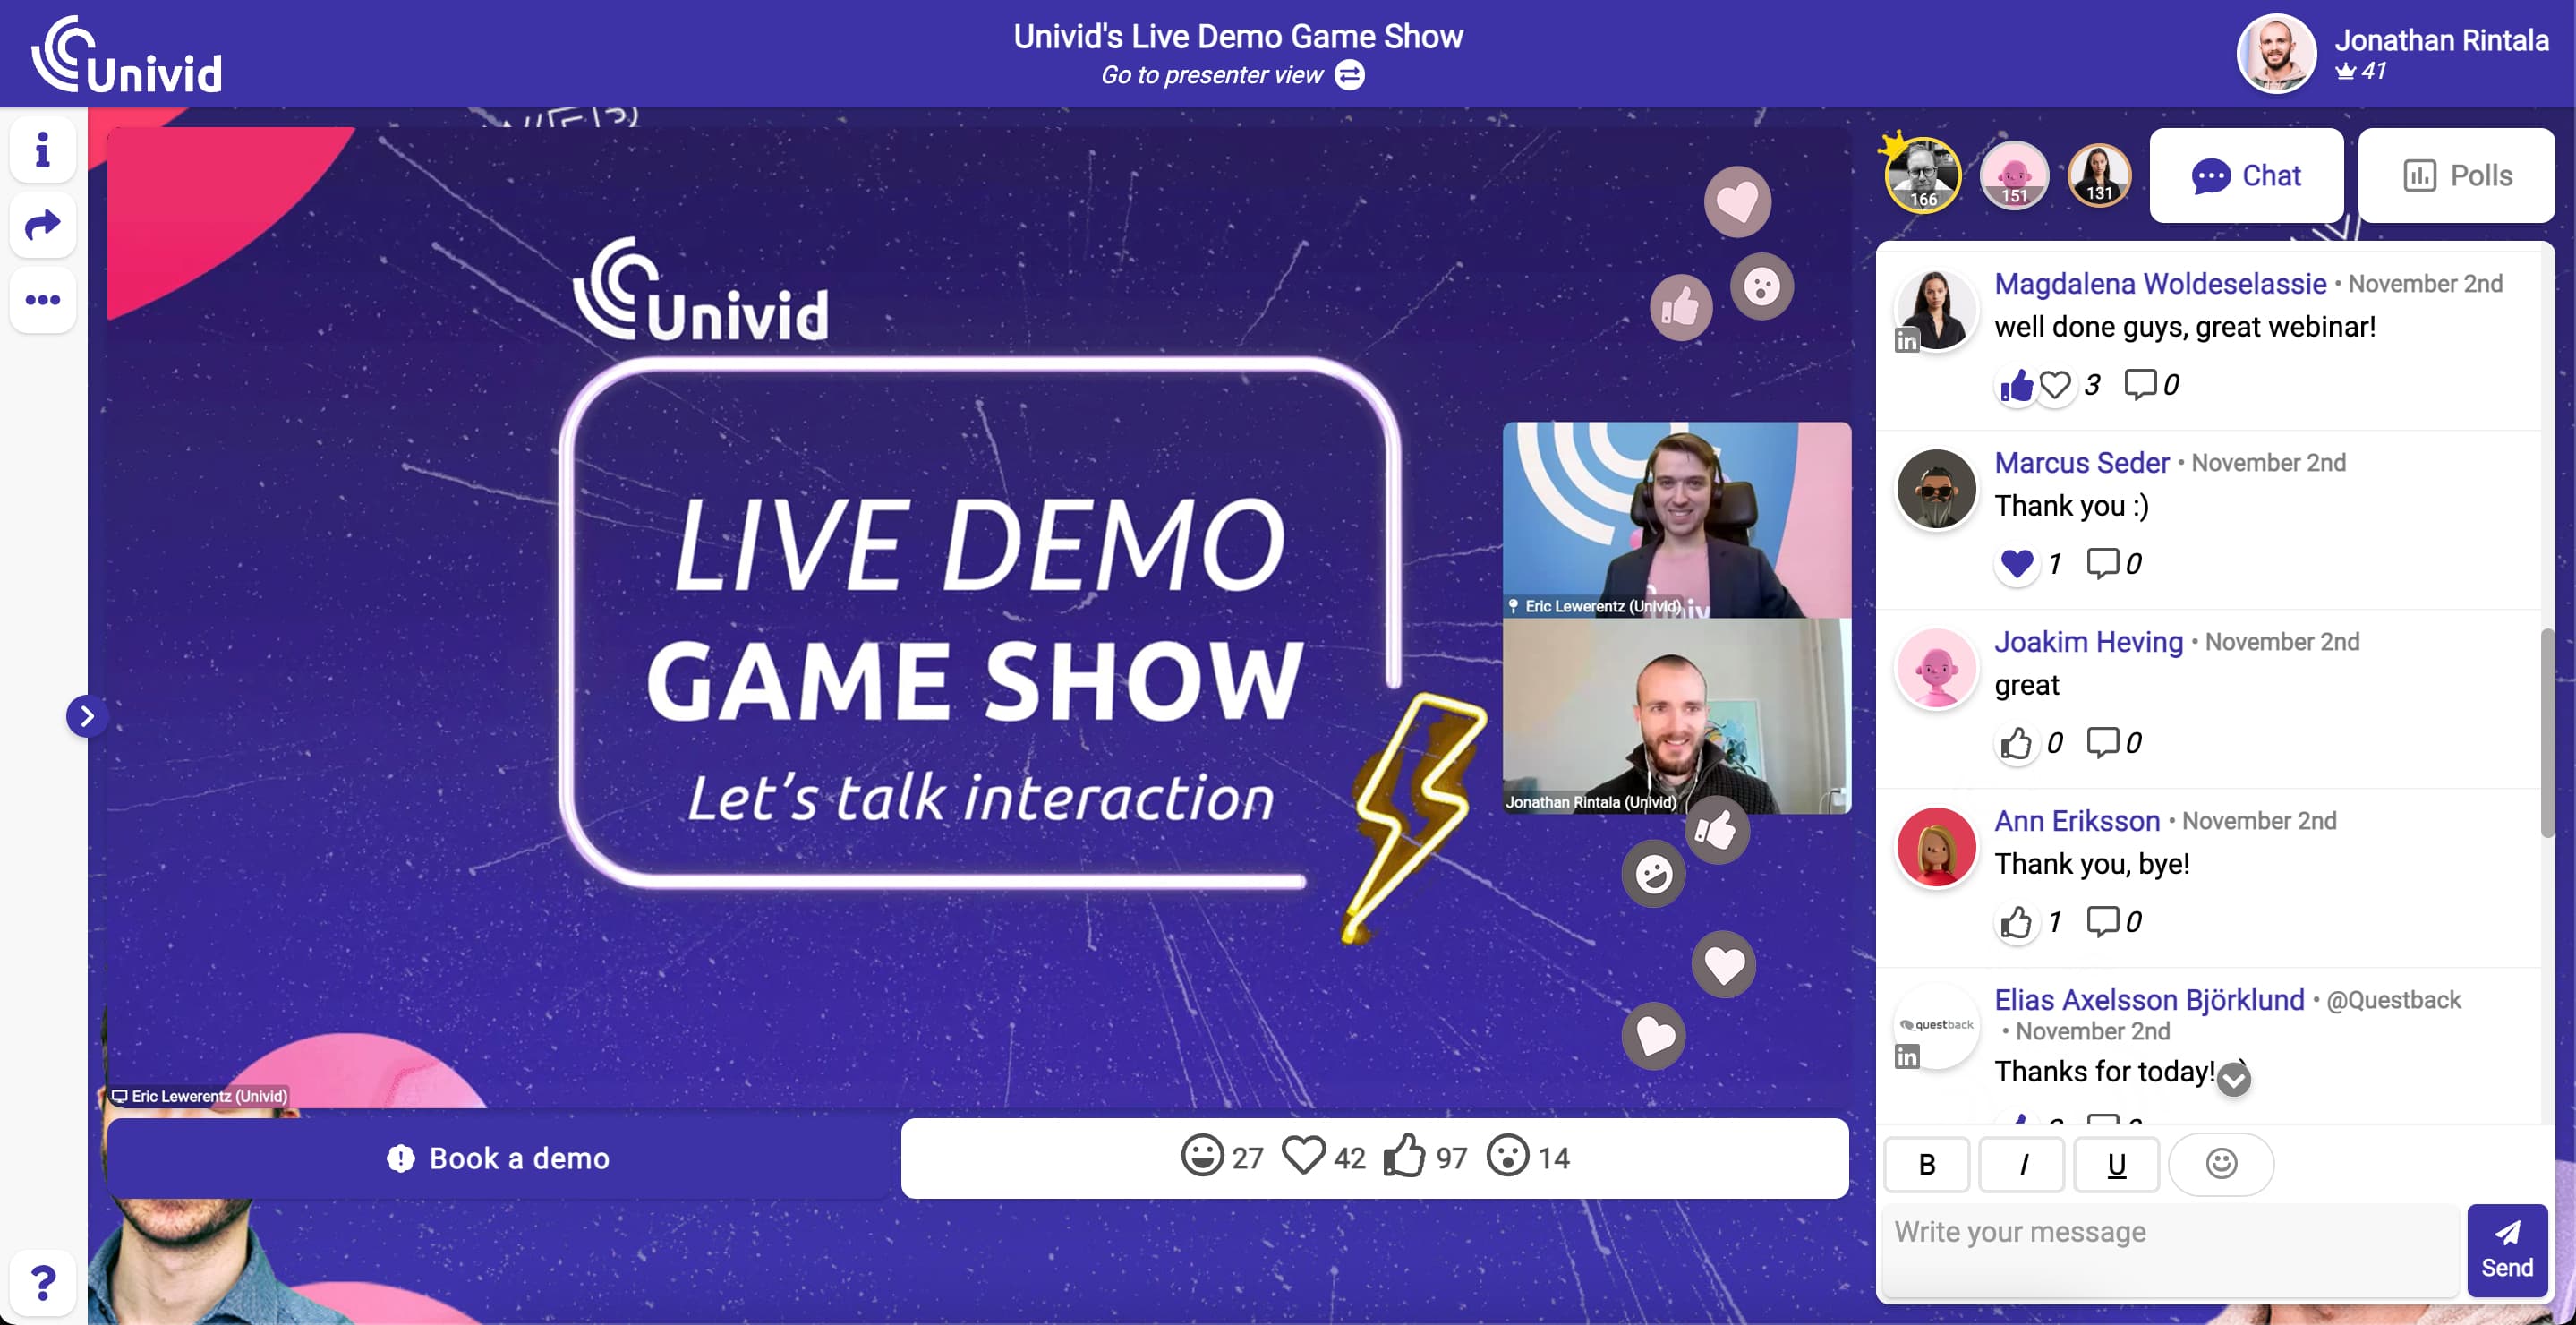
The Univid webinar platform can be customized entirely to your branding in 60 seconds
Summary and tips on equipment to buy 🍪
That’s it. Go set up that studio and "drop those webinar mic struggle moments" – mic drop. 🚀🎤✨ And remember! Don't let your audience settle for potato-quality visuals, laggy streams, or uninspiring audio (streamed from a storage room). It’s time to make your audience forget that they can escape the session with just one click and produce captivating webinars with the right equipment. We've covered the six components – the dedicated camera that ensures your visuals are crystal clear, the video capture device that keeps your streams buttery smooth, the perfect microphone to make every word count, lighting to enhance your presentation, an extra screen for juggling content seamlessly, and background with props that engage and captivate your audience. Don't let your webinars be a "storage room" experience, give your audience what they deserve! So, where to start? Perhaps with some equipment proposals? We have a few alternatives which perfectly suit most use cases. Don't miss this opportunity to make your webinars unforgettable – your audience is waiting for an experience that's both informative and engaging. It's time to step into the spotlight. 👉 Get your free equipment proposal 📝
Get started todayJoin over 70,000 users and create unique webinars with Univid.Show me a demo