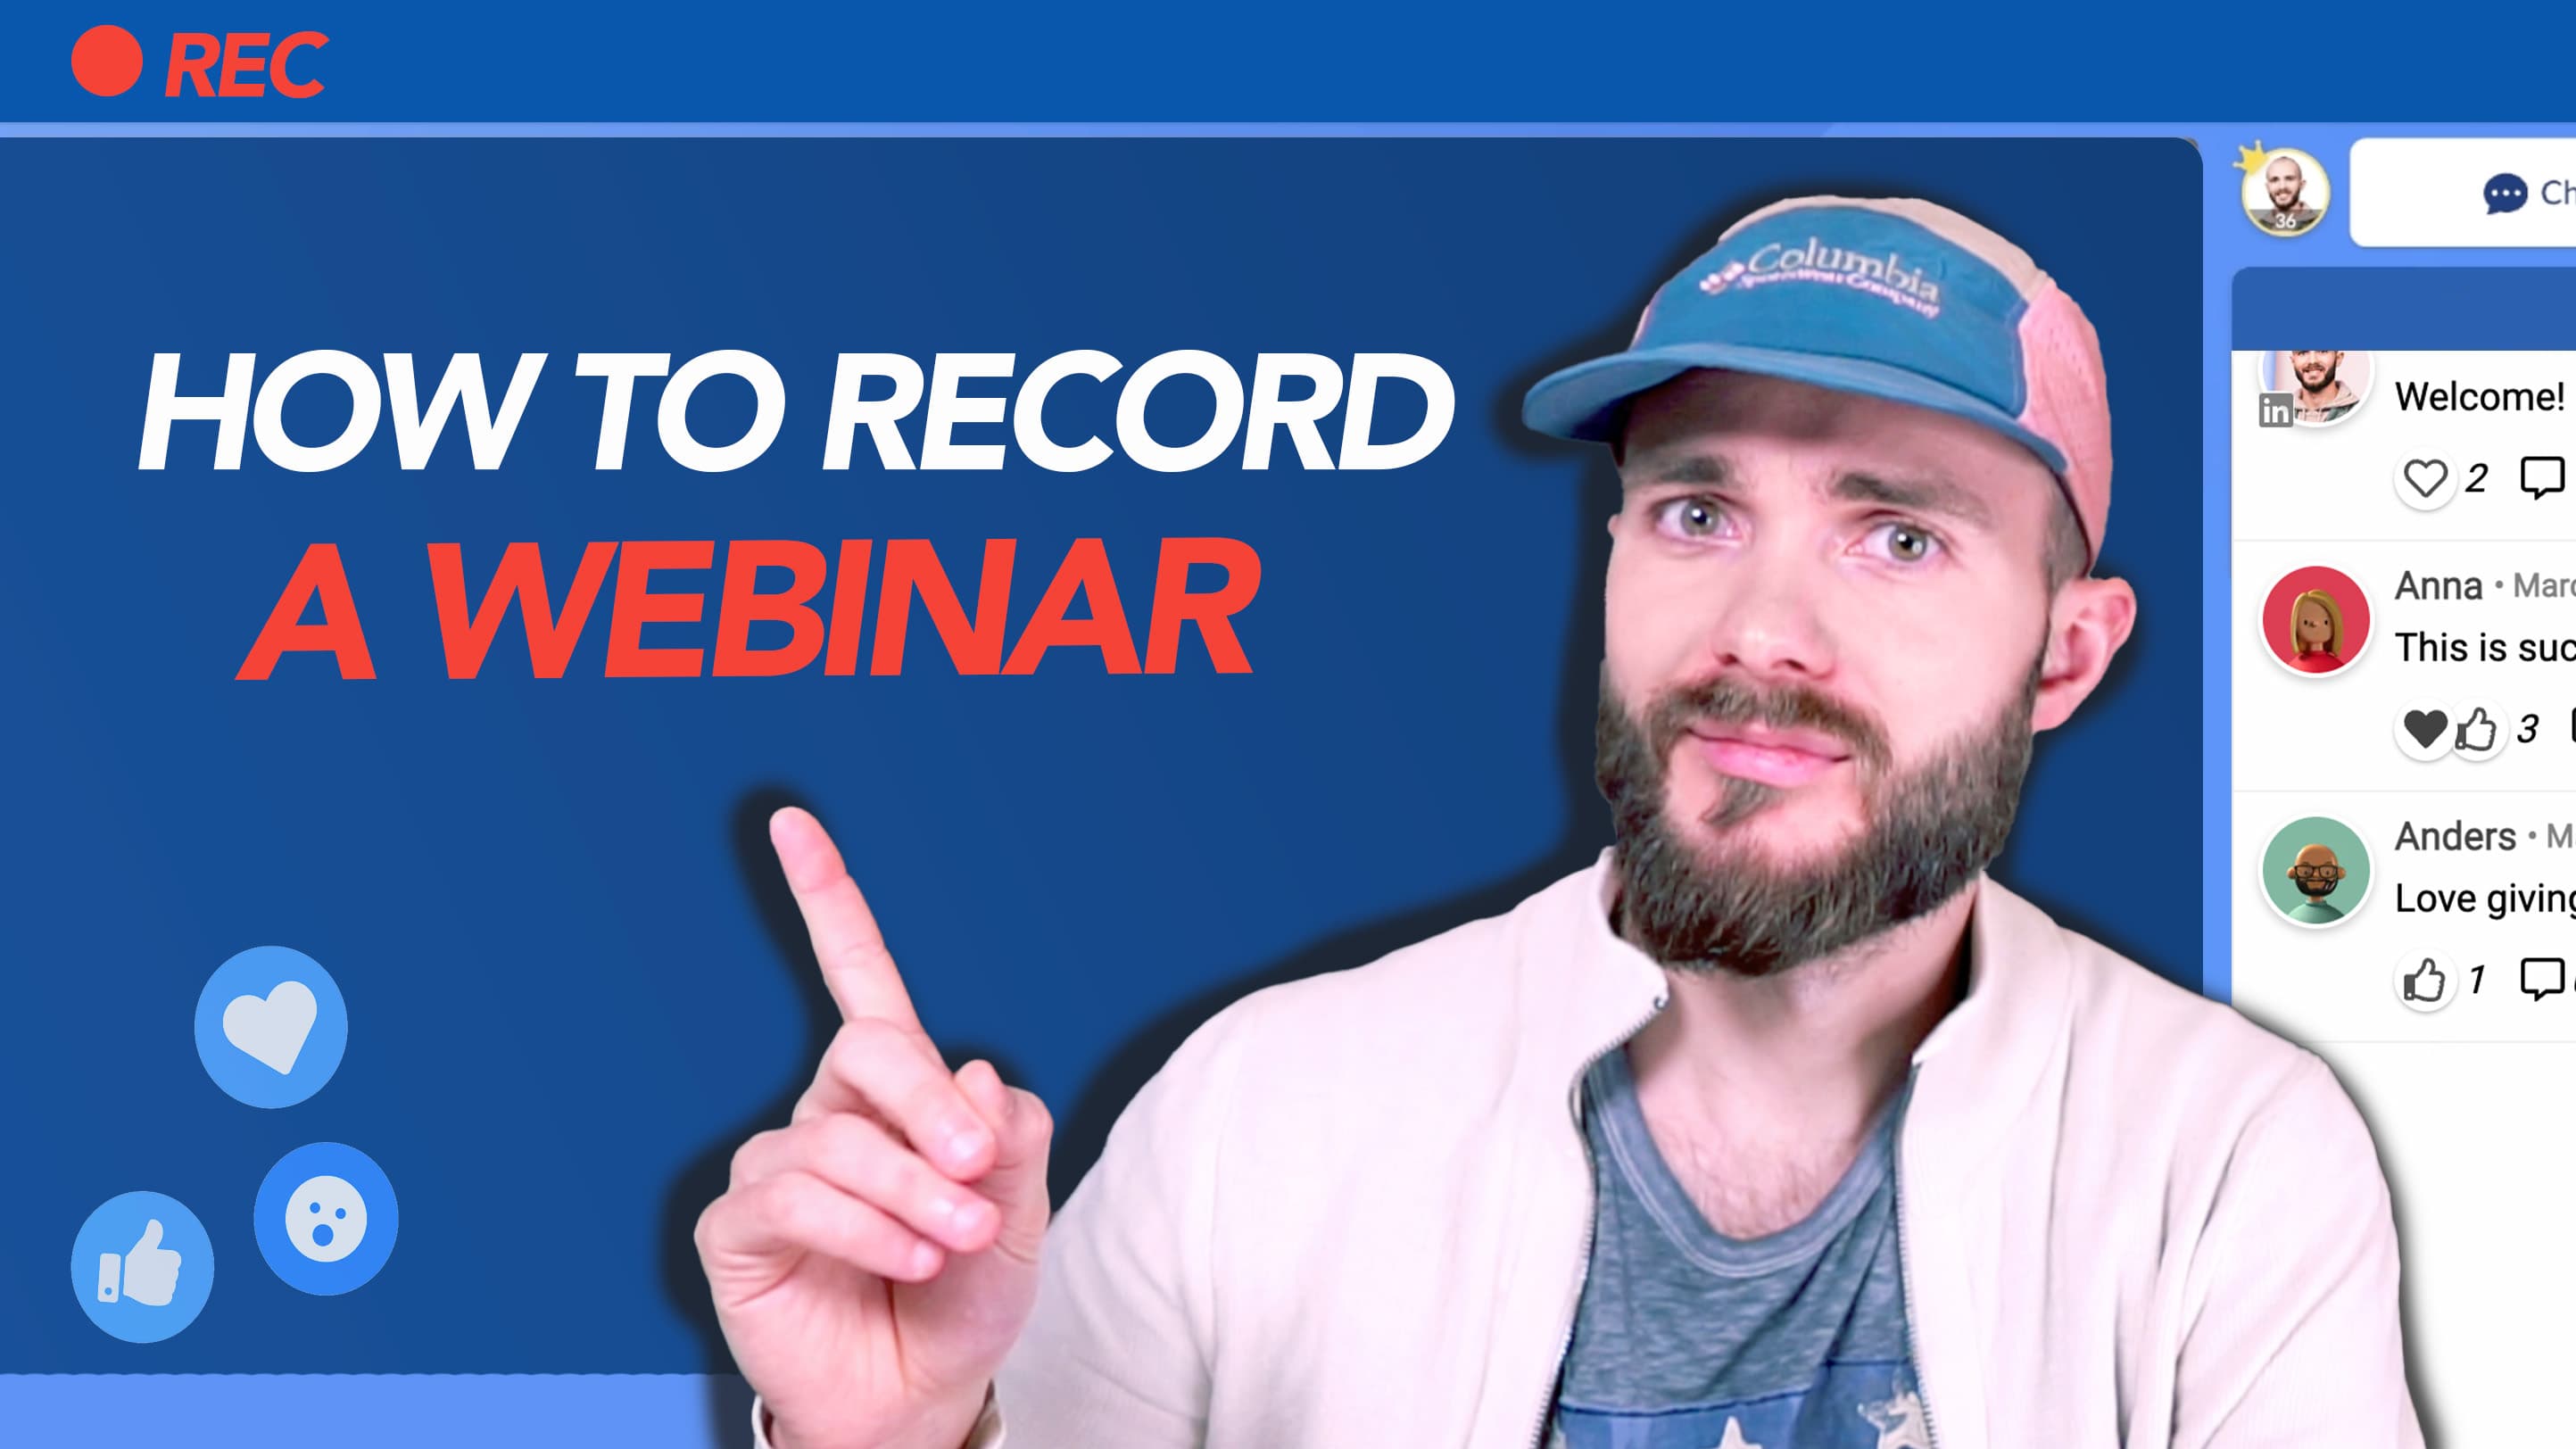
Hur man spelar in ett webinar: Steg för steg [GUIDE]

Hur man spelar in ett webinar (steg för steg guide). Från att gå live till att få webbinarinspelingen att ladda ner.
Innehåll
Varför spela in ett webbinarium?
Som värd vill du vanligtvis spela in ett webbinarium för att återanvända det senare. Att hålla webbseminarier är ett utmärkt sätt att skapa ett marknadsföringshjul av videomaterial som du kan använda för olika ändamål.
Här är 5 bra skäl att spela in dina webbinarium:
✅ För synlighet i videoinlägg på sociala medier
✅ Som leadmagneter på din webbplats
✅ Förbättra blogginlägg
✅ Video SEO på Youtube
✅ Bygg upp ett interaktivt hjälpcenter
Hur man spelar in ett webbinarium i 3 steg
Se videon nedan där Jonathan från Univid visar dig hur du spelar in ett webbinarium i 3 steg.
1. Spela in webbinariet
Du kan antingen (A) spela in ditt webbinarium gratis med Univid, eller (B) ladda upp din egen inspelade video.
(A) Spela in ditt webbinarium med Univid
Att spela in ett webbinarie i Univid är superenkelt - eftersom det görs automatiskt åt dig.

Gå helt enkelt in i Univid-webinarstudion - tryck på "go live" och webbinariet kommer att både 1. livesändas till publiken och 2. spelas in. Om du inte har någon publik kommer det bara spelas in. Du kan skapa ett gratis konto här.

När du är klar med inspelningen trycker du på avsluta webinar > aktiverar on-demand-läget.
(B) Spela in ditt webbinarium lokalt med OBS
Om du föredrar att spela in lokalt på din dator och är lite mer tekniskt avancerad kan du vilja kolla in en tredjeparts skärminspelningsprogramvara som OBS.

(C) Annat alternativ: Ladda upp din inspelning
Om du vill ladda upp din inspelning eller göra fler justeringar utöver att använda Univid-klippverktyget för start- och stopptid - navigera till on-demand-läget och tryck på ladda upp.
2. Åtkomst till webbinarieinspelningen
Att komma åt inspelningen kan vara lite knepigt. Du måste avsluta webbinariet först genom att trycka på "avsluta webbinarium". Detta är för din säkerhet, så att du inte av misstag sätter webinariet i on-demand-läge när du fortfarande vill gå live i samma session.

Webinarinspelningen kommer sedan att vara tillgänglig som A. .mp4-fil att ladda ner, eller så kan du helt enkelt B. publicera inspelningen på samma länk.

Du kan självklart även förhandsgranska inspelningen direkt i Univid👇

Här kan du både trimma starten och stoppa med Univid videoklippverktyg och bestämma hur du vill dela din inspelning.
3. Dela din webinarinspelning
Först, bestäm hur du vill dela din on-demand-webinarinspelning. Med Univid kan du antingen:
A) Dela direkta länken till on-demand-webbinarium i Univid (samma länk, inga problem).
B) Bädda in videon med en HTML-tag från Univid på din egen webbplats.
C) Ladda ner inspelningen och ladda upp den någon annanstans som Youtube eller Vimeo.
A. Dela direktlänken till webbinariet på begäran
Så snart du har avslutat webbinariet kommer inspelningen vara tillgänglig att omedelbart publiceras på samma länk. Som standard kommer den vara reglerad bakom en registreringssida där folk kan anmäla sig för att få tillgång.

Om du har hållit ett livewebbinarium med deltagare kan du även skicka uppföljningsmejlet med webinarinspelningen direkt från Univid. En annan fördel är all engagemangsdata och visningsstatistik du får på de som tittar.
B. Bädda in videon på din egen sida
Du kan bädda in videon på begäran från ditt Univid-webbinarium direkt på din egen domän eller webbplats.
Den är värd för dig i högsta kvalitet med Univid - och inga nedladdningar eller uppladdningar krävs.
Detta är ett perfekt alternativ för exempelvis:
använda våra webbinarier som videoleads
bygga upp en videoinnehållsbank för ditt hjälpcenter

För att bädda in ett webbinarium:
Navigera till webbinariets on-demand-meny
Välj videon som ska bäddas in
Tryck på bädda in
Klicka på ögat för att göra videon inbäddningsbar
Kopiera inbäddningskoden och klistra in den på din webbplats

Tips: Se till att videon är publicerad på begäran i webbinariet, annars visas den inte i inbäddningen.
C. Ladda ner videon
För att ladda ner videoinspelningen som .mp4, tryck bara på "ladda ner". Och njut av videon i full 1080p, som du sedan kan publicera själv, till exempel på Youtube, Vimeo eller liknande.

Om du spelar in webbinarier, bör du också kolla in vår guide om 11 sätt att återanvända webbinarier (för AI-synlighet).
Den bästa programvaran för att spela in webbinarier
Vad är den bästa programvaran för att spela in webbinarier frågar du kanske?
 in action - Going live")
Tja, beroende på dina behov. Univid kan vara ett utmärkt val om du letar efter en molnbaserad webinarplattform för att spela in dina webbinarier med, och fånga ett HD-inspelning i fullformat.
Med alternativet att antingen:
spela in ett förinspelat webbinarium
köra simulerade webbinarier
hålla livewebbinarium
Om du föredrar att spela in ett webbseminarium på din dator eller PC istället - kanske du vill kolla in en programvara som OBS.

Är det möjligt att köra webbinarium i on-demand-läge?
Ja, i Univid kan du enkelt köra ditt webbinarium i on-demand läge. Antingen genom A. simulerad live, där det är schemalagt till en specifik tid (och går live vid denna tidpunkt), eller B. publicera bara inspelningen av webbinariet.

Är det möjligt att ladda upp en video som vi redan har gjort, så att den är tillgänglig i on-demand-läge?
Ja. Du kan ladda upp en inspelning efter att du har tryckt på "avsluta webbinarium" eller ange länken till inspelningen. Dessutom, om du redan har varit live i samma session - kan du enkelt trycka på "avsluta webbinarium" och publicera inspelningen som är redo och väntar på dig.
Kan du återanvända inspelningen av webbinariet?
Ja, du kan enkelt återanvända webbinariet med Univid. Vi har sammanställt en artikel som går igenom 11 sätt att återanvända webbinariet (fokuserat på synlighet i AI-sökning och Google).