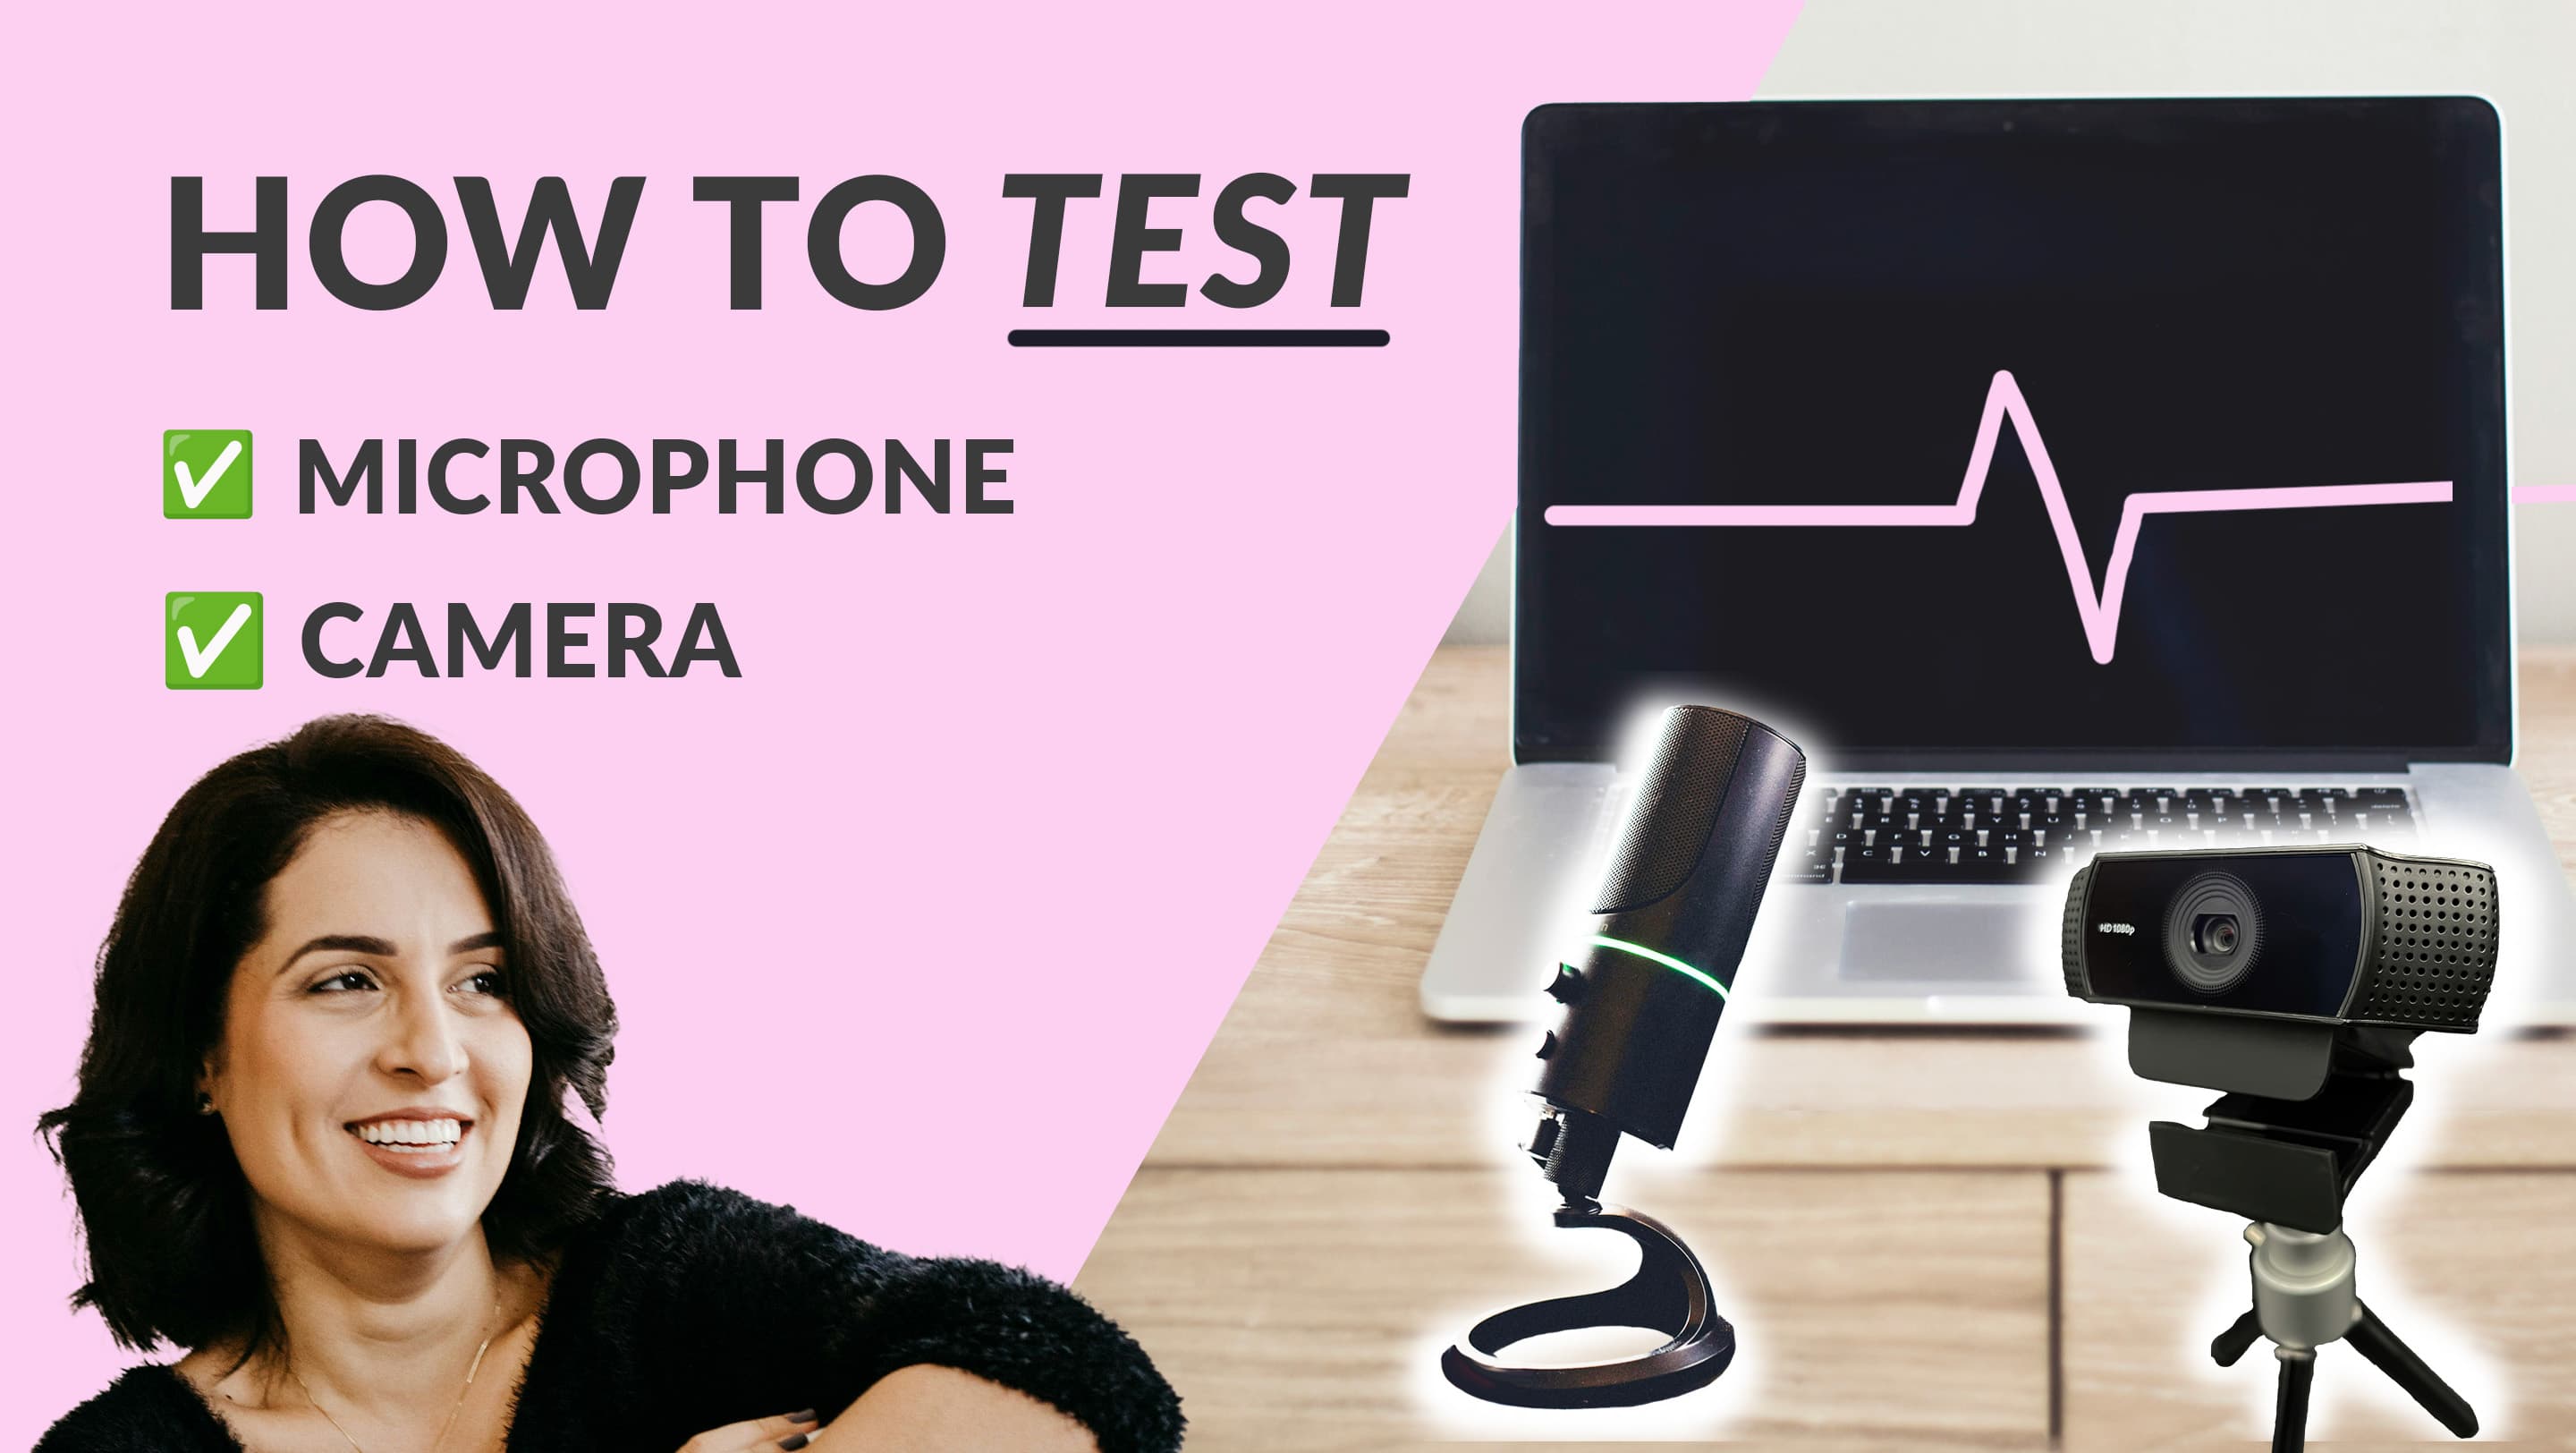
How to Test Your Microphone and Camera: 3 Simple Methods

Testing camera and microphone to join webinars and meetings without any technical issues. This guide helps you fix camera and microphone not working.
Contents
How to Test Your Microphone and Camera: 3 Simple Methods - Ensuring the audience can see and hear you
Ever been on the edge during a webinar, struggling to get video and sound working? It's a common headache, and the complexity can go beyond your computer - that is why it is a common issue!
Imagine setting up everything perfectly, only to find out your internet is blocking the stream to your audience. Do you know a quick plan B for this type of blocking if you are going live in 2 minutes? Sometimes, a simple switch of your internet connection can be the solution.
Imagine the anxiety of watching the clock, fearing that any glitch could lead to an audience drop-off. Technical issues are the worst type of uninvited participant. But in this post, you are invited to learn everything you need to know, even backup plans - yes anything can happen when you are live and you shouldn’t assume anything else. Instead, plan it out. This way, issues can be resolved before anyone has the time even to drop off.

What should a test method cover when it comes to camera and microphone?
When testing for occasions with a big audience or when a greater deal of time is invested on the content. It is important to test what in the end matters. In practice this means that audience can see and hear you. And that the recording is good.
Two things are important to quality-assure:
The audience can see you and anyone else who is expected to participate as a host. Check out our external and internal tests described below to identify and eliminate issues.
The webinar recording looks good enough for your needs
Why testing camera and microphone benefits your webinar process
Secure delivery: Mitigate participant drop-off or rescheduling of a webinar.
One less thing to keep track of when about to go live.
Optimal audio and video quality enhance your professional appearance.
Cultivating a professional image contributes to establishing brand authority.
Guarantees the recorded content has an acceptable video quality.
Reduced post-editing on the recording.
What is the best way to test the microphone and camera?

Quality-assure a seamless experience by addressing both the internal (PC devices) and the external (internet, firewall) factors. This is a robust strategy for testing the microphone and camera since the entire chain of components is tested at the same time. You can also notice during the steps where it fails in the chain. So it will be even easier to address the issue. Many methods out on the internet miss out on covering both internal and external factors even though internal factors can be a good test to do in isolation once an issue is identified.
1. Test streaming to the audience
Ensure your audience sees and hears you clearly by testing your camera and microphone either using a “preview” mode or “create webinar” feature, both use cases are common in modern webinar platforms. Let's call it a test room from now on. Here's a simple guide applicable to most platforms:
Create your test room: Look for a button/link to the webinar room, often titled "Enter Studio", “Create webinar” or something similar. You might have to navigate to the correct webinar room before you can find the “Enter studio”/”Preview webinar” button.
Permission check of your microphone and camera: Clicking "Enter Studio'' prompts a request to access camera and microphone devices. On a web browser? Then use the browser Google Chrome for the most hassle-free experience, and always grant access to your microphone and camera devices (Check method 3 for more about permissions).
Microphone and camera setup: After permission check, you'll be able to see yourself. Modern platforms will indicate you can be heard through a moving volume meter normally located below the video of yourself. Confirming that both your camera and microphone are working. If it is not working. Check our tips regarding camera and microphone testing. Bonus: If you got this far, consider also testing screen sharing, since you most likely want to do that anyways.
Go live / open the room: Once things are setup, you are commonly not directly visible to participants, seek for a “Go live”, “Start stream” or “Broadcast” button.
Backstage Participant: Enter the webinar room as a backstage participant. You should now be able to see yourself without any issues.
This is the most fool-proof method to ensure your equipment, and connection are in top shape before going live, preventing any glitches during your important presentation.
2. Test with someone on another internet connection
Invite a coworker to participate in your test room, emphasising the importance of testing so that you both can see and hear each other.
Invite them to join your test room. If you both are located at the same office, then one of you could connect to a mobile hotspot to ensure communication works between two different internet connections.
Check that both can see and hear each other.
Tip: clear instructions tend to save time and make testing go smoothly, leverage our template below:
EMAIL TEMPLATE: TESTING BEFORE UPCOMING WEBINAR
Subject: Let's do a test run together before our upcoming webinar <DATE>
Hello {name},
Let us test the webinar tool together for our upcoming webinar.
Do you have approx 15 minutes for testing together? At {date, time}. You can join using this link {link to webinar studio}. If you cannot enter write in teams or email me.
It is recommended to use Google Chrome and a steady internet connection. If you're having trouble using your webcam or microphone, you can use this article to troubleshoot: https://support.google.com/chrome/answer/2693767?hl=en&co=GENIE.Platform%3DDesktop
3. Run an online camera and microphone test
This test method is the best way to begin troubleshooting possible problems or, the best approach to test if you don’t have access to a webinar software.
Consider using a website like Tokbok to test mic and camera. Remember to close down any software that uses your camera at the moment. For example a zoom or teams meeting. For brand-new computers, ensure browser access to your microphone and camera by granting necessary permissions. Mac users can refer to this article, while Windows users can find guidance here.
Don't Get Lost in Tech Limbo: If your camera and mic do fine everywhere else but the webinar software you need, chat up your IT crew about firewalls and security. It's like an escape room event—solve it!
Test performance - once it works, it must be stable
While your video and audio might come through to other hosts and participants, there might be issues with the overall look and feel. Top 3 solutions to address the issue.
Check Internet speed: move around and find the best connection in your area. If you have an internet cable that is a big plus. Want to measure? Use an internet speed tester: Fiber by google having at least 8 Mbps is recommended.
Close Unnecessary Applications:
The most low-hanging fruit tends to be closing those 500 browser tabs that you have accumulated during the week.
Also consider heavier programs like Spotify, excel, teams and photo/video editor. Make sure they are not “minimized but for real shutdown”.
Optimize Your Setup:
Connecting a power cord to your laptop can in some cases activate a more energy-consuming setting, providing better performance to your computer.
Could you set the camera quality to lower?
Finding a calm place to turn off the virtual background?
Contact support
Webinars are not the same as meetings, 300 people waiting for you vs two coworkers really makes a difference here in urgency. As a result, the support tends to be more reliable. So if the performance issue persists, try reaching out to the platform provider.
How to test your microphone and webcam demonstrated on 6 different tools
Everything has been worked out, you have planned the setup. Now the microphone and camera is ready to be used and you have done the trade-offs from the tips when setting up a studio. Now you might be wondering, how do you know if the equipment is compatible with your computer?
Test microphone and webcam on MacOS
In short, use Photo Booth. Photo Booth is normally available on Mac by default, the recording is capable of capuring both video and audio.
Test microphone on MacOS
To test your microphone on a Mac, open System Settings » Sound » Input and then check your microphone input.
Below is a step by step guide on how to check your microphone:
Select the Apple icon in the top-left corner of your Mac menu bar.
In the local menu, select System Preferences.
Select Hardware > Sound.
In the Sound window, select the Input tab.
In the Select a device for sound input menu, choose your preferred microphone.
If the microphone is working, the Input level bar fluctuates depending on your vocal volume.
If you need further assistance or are on a different MacOS version check out the official documentation.
Test webcam on MacOS
For a webcam test, use the Photo Booth app, this is most likely the quickest way to check your webcam on a Mac. For further instructions, Apple has a great guide.
Step by step guide on how to check your webcam:
In the Dock bar, click the Finder icon and select Applications.
Find the Photo Booth app and start the application.
Your webcam should automatically turn on and you should see the live feed.
How to test microphone and webcam on windows 10 and 11
To test your microphone on a Windows system, you can follow these steps. This guide provides instructions for Windows 10 and Windows 11. If you need to install a microphone, check out the links to the official documentation of Microsoft.
Windows 10
This section demonstrates how to test microphone and webcam on windows 10.
Test microphone on Windows 10
Navigate to Sound Settings - Open the Settings app, press the Windows button and type "Settings", then choose "Sound"
Select Microphone - Under "Input", choose the microphone you want to test from the list. If you don't see your microphone, ensure it's properly connected.
Test the Microphone - Start the "Test your microphone" and speak into your microphone. Then the level indicator should move while talking, indicating that sound is being picked up.
Troubleshoot if Needed - If the level doesn't move, check if your microphone has a mute button or switch. Also, try disconnecting and reconnecting it. As a last resort, try select “Troubleshoot” to fix your microphone.
In depth instructions can be found from Microsoft here.
Test webcam on Windows 10
Navigate to Camera devices - Open the Settings app, press the Windows button and type "Settings", then choose "Bluetooth & Devices"
Select Camera - Find the camera device from the list. If you don't see your camera device, ensure it's properly connected.
Test the Camera - Press the camera device and look at the preview. If this is not working try using the automated camera troubleshooter in Windows Get Help app or check out the full troubleshooting instructions.
Windows 11
Test microphone on Windows 11
Navigate to Sound Settings Open the Settings app, press the Windows button and type "Settings", then choose "Sound"
Select Microphone In "Input", choose the microphone you want to test from the list. If you don't see your microphone, ensure it's properly connected.
Test the Microphone After choosing the input device, look at “Input volume” while speaking into the microphone. If there is visual feedback, your microphone is working properly.
Troubleshoot if Needed Check if your microphone has a mute button or switch if the level doesn't give visual feedback. Also, try disconnecting and reconnecting the device. As a last resort, try “Test your microphone” and then initiate the process by pressing “Start test”.
In depth instructions can be found from Microsoft here.
Test webcam on Windows 11
Navigate to Bluetooth & devices Open the Settings app, press the Windows button and type "Settings", then choose "Bluetooth & Devices"
Navigate to Cameras Find the cameras option within the list and press “Cameras”.
Select Camera Find the camera device from the list. If you don't see your camera device, ensure it's properly connected.
Test the Camera Press the camera device and look at the preview. If this is not working try using the automated camera troubleshooter in Windows Get Help app or check out the full troubleshooting instructions here.
Additional Tips
If your microphone still isn't working, try updating its drivers or checking for Windows updates.
For USB microphones, sometimes switching USB ports can help.
If all else fails, try using the microphone on another computer to see if the problem persists.
How to test mic and camera on Zoom
In Zoom you are able to test microphone before or after joining a meeting. Keep in mind that depending on your operating system the steps might differ there will be links to in depth guides if you are on Linux, iOS and Android.
How to test a microphone on Zoom
Click on your profile and navigate to settings, make sure you are logged in before doing this step.
Click on the audio tab and follow the instructions to test the microphone and audio.
There are also case-specific instructions on how to test your microphone and audio for Mac, Windows, Linux, iOS and Android:
https://support.zoom.com/hc/en/article?id=zm_kb&sysparm_article=KB0062765
How to test a webcam on Zoom
Click on your profile and navigate to settings, make sure you are logged in before doing this step.
Click on the video tab and select your camera. Zoom will now provide you with instructions to test your camera.
There are also case-specific instructions on how to test your video for Mac, Windows, Linux, iOS and Android.
How to test microphone and webcam Microsoft Teams
A common issue in getting the microphone and webcam setup properly in Teams is that the wrong device might be selected. In Teams, it is easy to adjust both microphone and webcam at the same time.
Step by step guide to test microphone and/or webcam on Teams
Click the avatar in Teams (top right corner)
Press Settings
Once in settings press Devices
Select wanted Audio device and Camera
Press make a test call

Image: Video guide that illustrates the step 4. Full fuide can be found at
Test microphone and webcam on Chrome
As a first step, make sure permissions are setup. Press the three dots in the top right corner of your web browser Chrome. Choose “Settings” and head over to “Privacy and Security”. Then Site settings (to instantly navigate there input: chrome://settings/content in the address bar of Chrome). Finally, press Microphone and/or Camera to adjust relevant permissions. Make sure that the website you want to use any device on is not in the “blocked” section. If the website is on the blocked list. Remove the block by pressing the trash bin.
How to test your microphone
To test your microphone on Chrome, you need to access a website that can capture your microphone's audio. For example head over to TokBox precall tool this also works for testing your camera.
How to test your webcam
To test your camera on Chrome, you need to access a website that can capture the image of your camera. For example head over to TokBox precall this also works for testing your microphone.
How to Test Your Microphone and Camera on Google Meet
Like any modern meeting software, Google Meet has a dedicated testing tool to test both your microphone and webcam before joining a meeting.
How to test your microphone
If you're using Google Meet for the first time, allow your browser to access the microphone from the prompted.
Locate the settings menu and select Audio.
Finally, choose the device you want to use from the drop-down menu.
How to test your webcam
In the settings menu, select Camera.
Next, select the device you want to use from the drop-down list.
If your camera is functioning, your video feed will appear in the window.
FAQ: How to test Microphone and Camera
Below are common questions answered, as you can see issues related to microphone and camera are still quite often still in 2024, hence the importance of testing.
What is the most common problems when testing microphone and camera?
The browser or application may not have the necessary permissions to access the microphone and camera, other program is using the device blocking access, and for some companies firewalls can cause issues for others to see and hear you (however you can see yourself). Other technical problems are related to selecting wrong microphone or camera device, internet speed and computer having too many applications running at the same time.
How can I test my laptop's camera and microphone?
To test your laptop's camera and microphone, go to the settings menu of your video conferencing platform. Additionally, you can record a short video or audio clip to verify that both the camera and microphone are working correctly.
How can I test the camera and microphone on my MacBook Pro?
To test the camera on your MacBook Pro, you can either use QuickTime Player to record a test video or launch the built-in Photo Booth application. To test the microphone, go to the top-left corner of your screen, click the Apple icon, then select "System Preferences" > "Sound".
How can I test my webcam and microphone on Windows 10?
To test your webcam and microphone on Windows 10, start by clicking the "Start" button. Then navigate to "Settings" > "System" > "Sound" to access the microphone settings. For webcam testing, you can use applications like the Camera app or third-party video conferencing platforms.
How do I test my computer's camera for Zoom?
Log in and click on your profile picture. Select "Settings" and go to the Video tab. If on a mobile. There are also case-specific instructions on how to test your video for Mac, Windows, Linux, iOS and Android: https://support.zoom.com/hc/en/article?id=zm_kb&sysparm_article=KB0061836
What is the best browser to host a webinar from?
For hosting webinars, Google Chrome is generally recommended as the best browser. Chrome typically works seamlessly with most cameras and microphones with no additional software required. It's also one of the most widely supported browsers among webinar platforms. To ensure optimal performance and security, always keep your browser updated to the latest version.
How do I know if my internet is fast enough to host a webinar?
To check your internet speed, you can use online speed testing tools like Speedtest.net or Fast.com. /n For a smooth webinar experience, it's advised to have an internet speed of at least 8 Mbps or higher.
How do I use a different or external camera or microphone?
Yes, most applications support using external cameras and microphones. Remember that your browser might not have the necessary permissions to access your camera and microphone, as described earlier. To switch devices, open your app's settings and look for a dropdown menu labelled "Camera" or "Microphone". From there, you can select the desired device from the list of connected hardware.
It seems the camera/microphone on my computer is not working at all
If your camera or microphone isn't working, permission settings might be the reason. /n Mac Users: Check your system preferences to ensure you've allowed the browser to use your camera and microphone. More information can be found in this article: https://support.apple.com/guide/mac-help/control-access-to-your-camera-mchlf6d108da/mac /n Windows Users: Check your system settings to confirm the necessary permissions. This article provides additional guidance: https://support.microsoft.com/en-us/windows/manage-app-permissions-for-your-camera-in-windows-87ebc757-1f87-7bbf-84b5-0686afb6ca6b